Page 1 of 3
New Project: Northern Scum Bitsa
Posted: Sat Nov 08, 2014 5:25 pm
by Dell Oughta
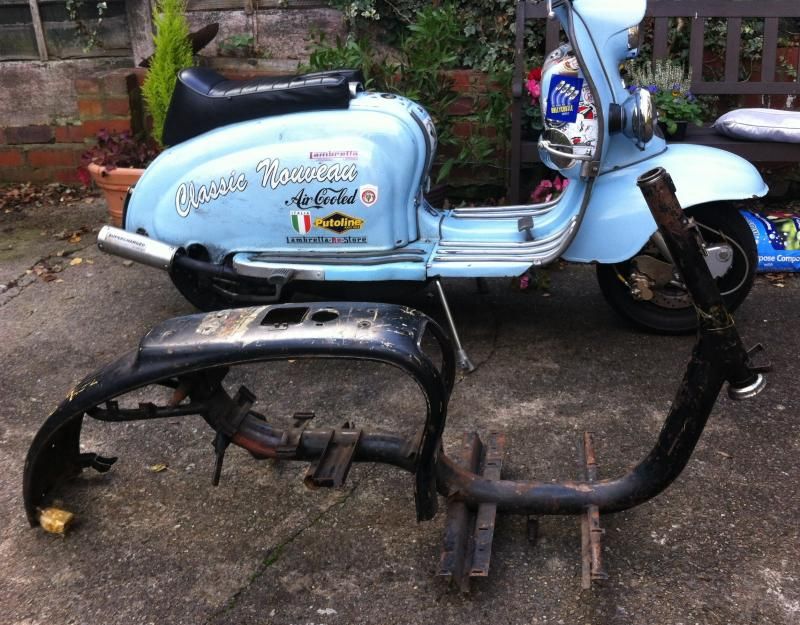
Here's my new project
Series 1/2 (I have no idea what it is manufactured in 1959, can find anything of this era with these numbers....any how it has V5 so I'm happy)
Going to be made up of a new TS1 225, 30mm carb, JL4 Snail Pipe that I have from my other scoot, standard GP200 gear box, 5 plate clutch.
GRP Panels all round, Spanish style mudguard
motor cycle drop bars (seen these on few now and I think they look mint)
Paint wise I like the fiat 500 arbarth 'Campovolo' grey with some sign writing on the panels
Front outboard disk, gas front dampers
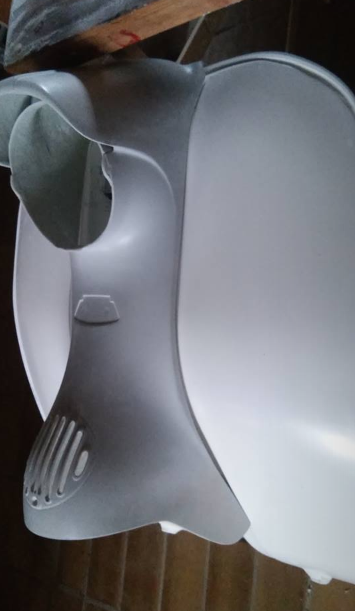
The first cut is the deepest
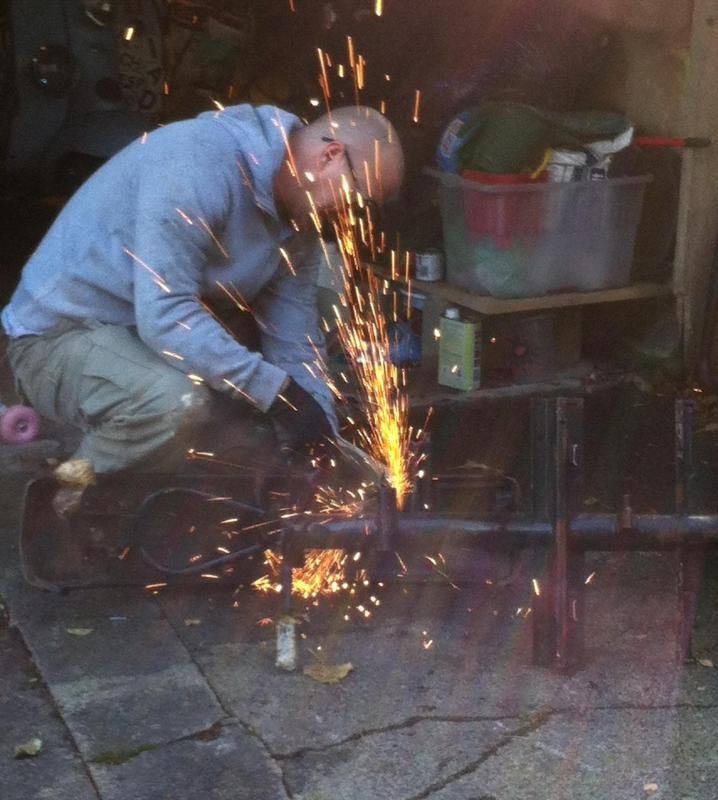
Blasted and powder coat primer, looks mint
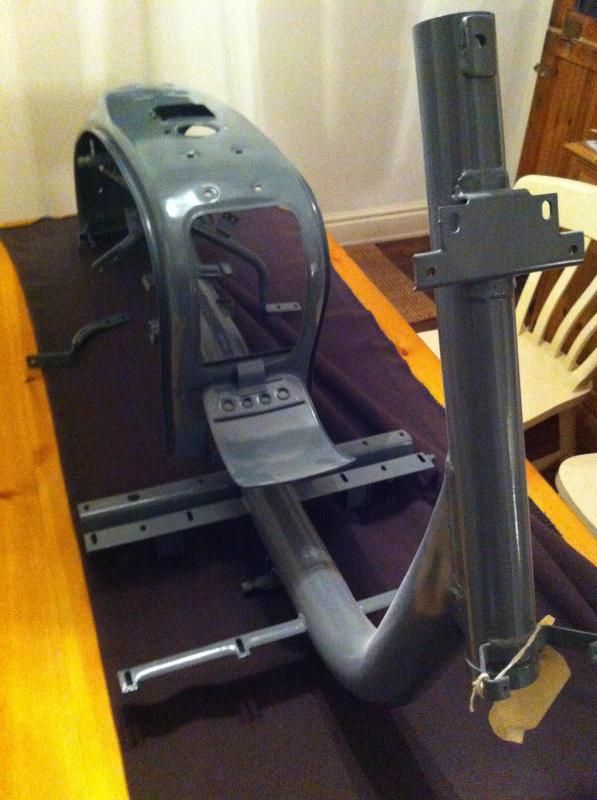
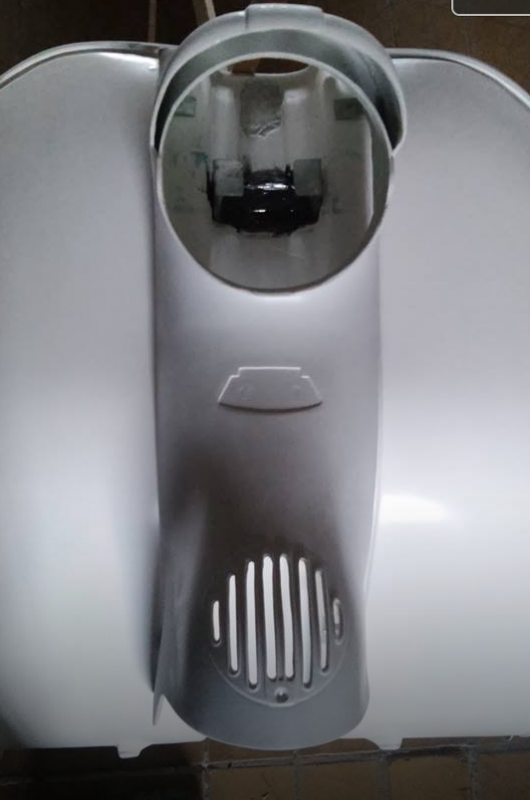
GRP Panels
Mike
Re: New Project: Northern Scum Bitsa
Posted: Sat Nov 08, 2014 5:30 pm
by Toddy
Looks a very nice project what was you cutting off ?
Re: New Project: Northern Scum Bitsa
Posted: Sat Nov 08, 2014 5:52 pm
by Dell Oughta
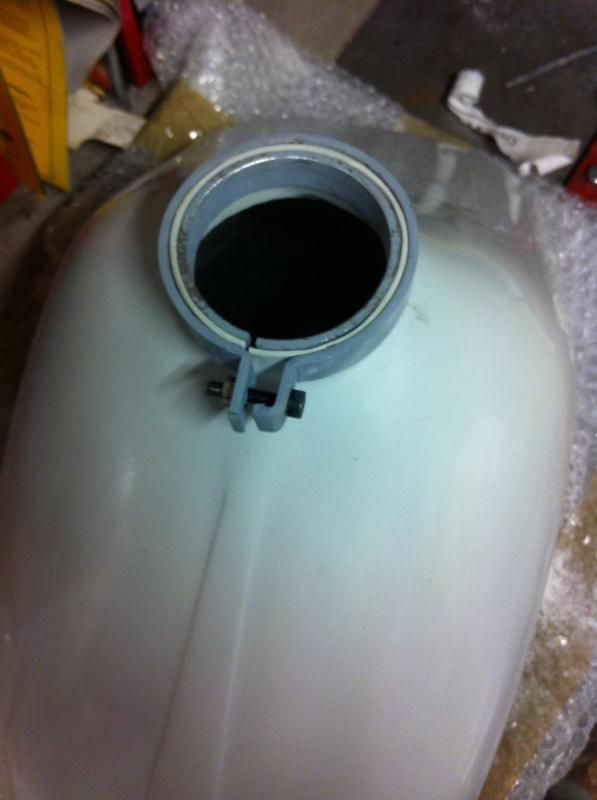
battery tray....fitting a Diablo tank
Re: New Project: Northern Scum Bitsa
Posted: Wed Nov 19, 2014 10:55 pm
by Dell Oughta
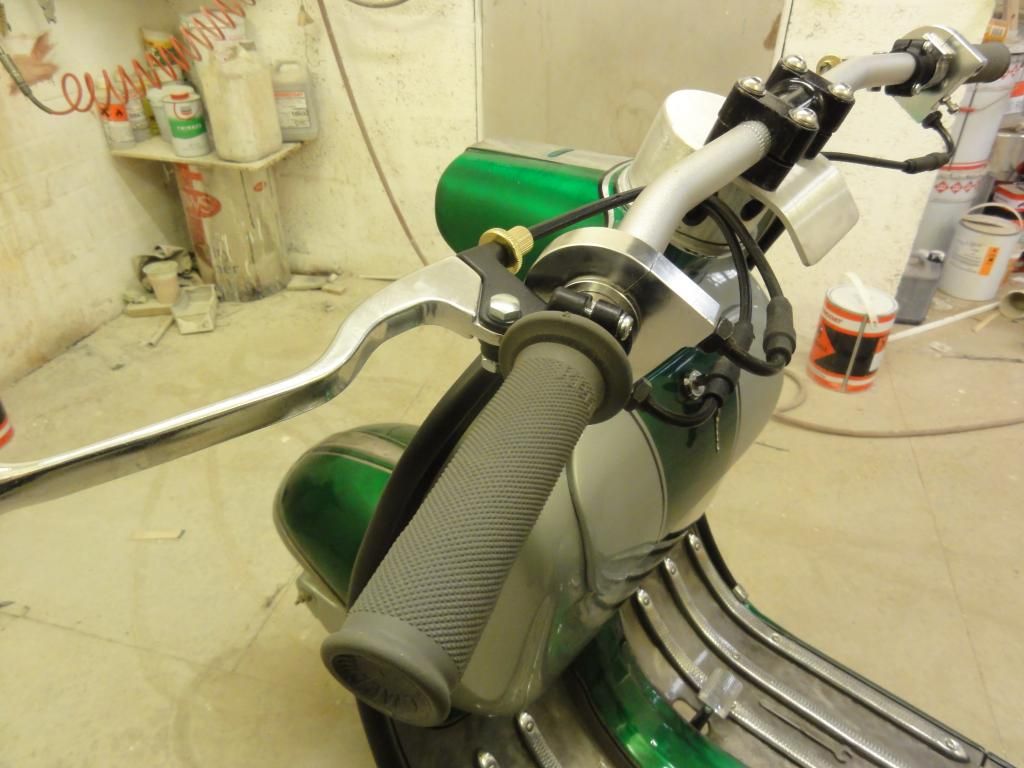
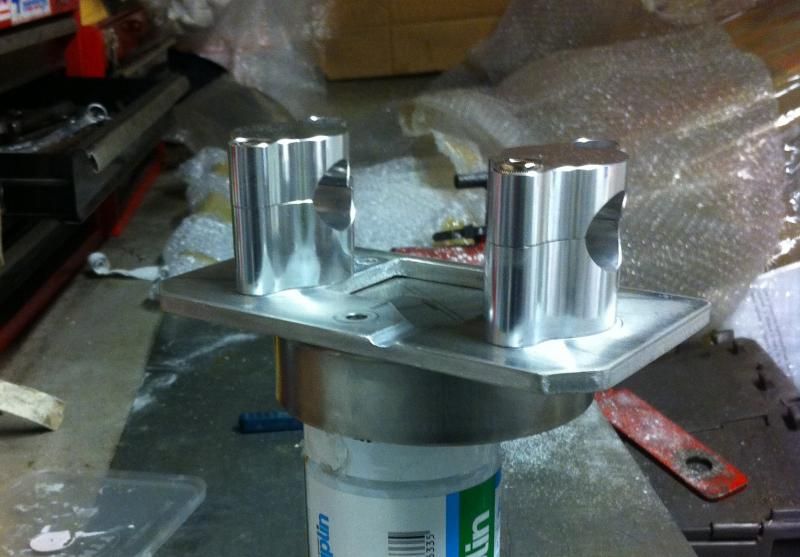
Did a test fit of bars at the weekend (sorry for s**t pics), need the panels etc before final fit to ensure I have clearance, cable routing etc.
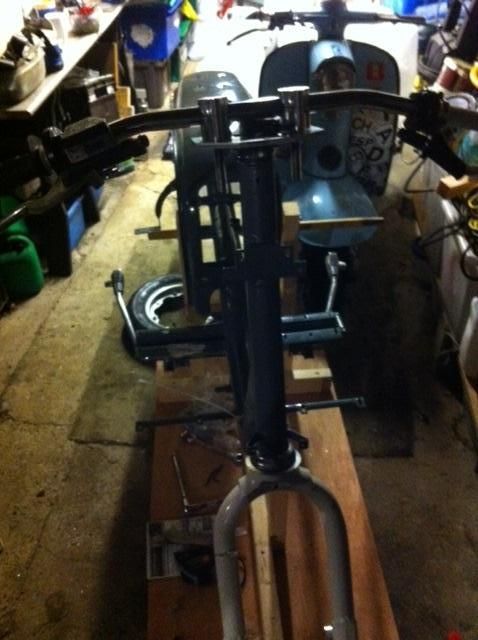
Going to trim the plate down, as I don't need to mount a headlight on it
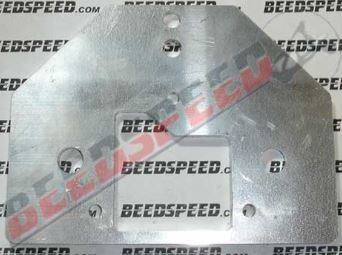
Bought most of the bits from beedspeed, 2nd hand brake master cylinder from a bike place (startright, leeds) a few cable bits n bobs from venhill, a horn main/dip switch that can be mounted on the bars from an old school motorcycle shop.
Found a perfect piece of steel that I can mount under the plate that'll hide the cables etc as they go through the chrome ring, the cables are gonna be a pain in the arse in terms of aesthetics, but overall I like the look so far.
Mke
Re: New Project: Northern Scum Bitsa
Posted: Fri Nov 21, 2014 10:52 pm
by Dell Oughta
Re: New Project: Northern Scum Bitsa
Posted: Sat Nov 22, 2014 9:48 am
by gerryjunior
looks good, keep the pics coming.
Re: New Project: Northern Scum Bitsa
Posted: Sat Nov 22, 2014 8:40 pm
by Dell Oughta
Had some time today to attempt to fit the mudguard...bit of a puzzle as I've never seen one in the nude! so to speak, anyway managed it gonna tack the locating ring to the forks when I get the damper brackets etc welded on.
Also done a little more work on the headset / bars and have decided that that beedspeed plate isn't going to work with the piece of metal lid thingy that I have in mind, to hide the cables going down the between the leg shields and panels, so I may be ditching it and using something else.
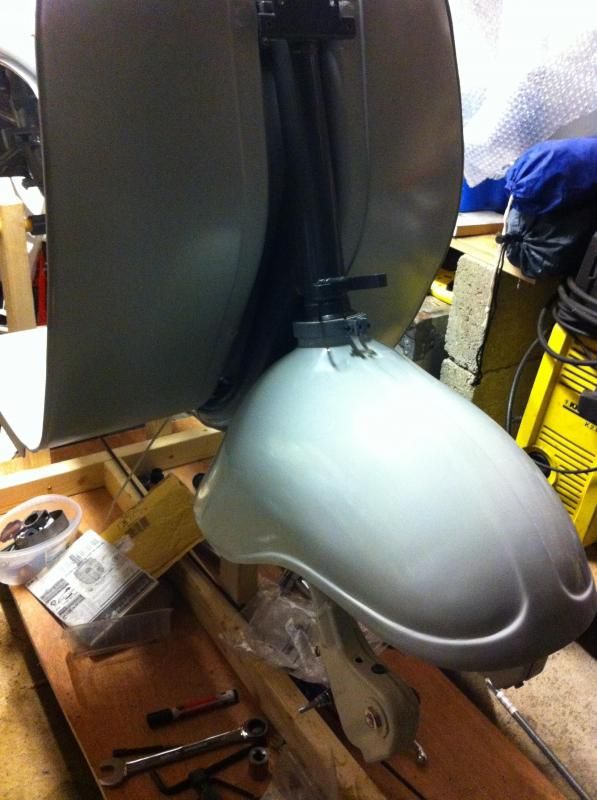
Mike
Re: New Project: Northern Scum Bitsa
Posted: Sat Nov 22, 2014 10:09 pm
by carlos fandango
Looking good Mike and it looks like an S1 frame to me

judging by the horncast/legshields bracket
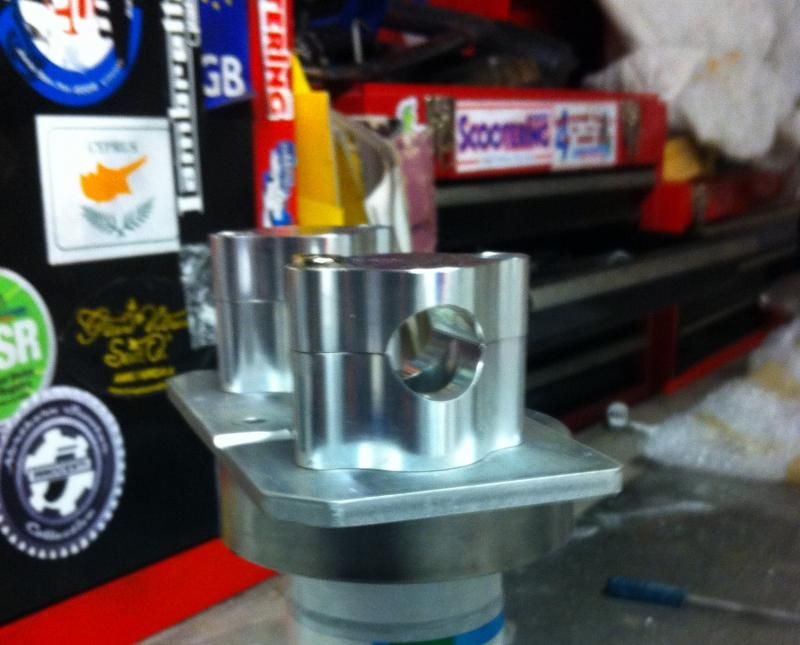
Heres what i did for my bars
Re: New Project: Northern Scum Bitsa
Posted: Sat Nov 22, 2014 10:45 pm
by thebassmasta
are those panels from chris at GRP Leicester?
Re: New Project: Northern Scum Bitsa
Posted: Sun Nov 23, 2014 8:12 pm
by Dell Oughta
carlos fandango wrote:Looking good Mike and it looks like an S1 frame to me
judging by the horncast/legshields bracket
Heres what i did for my bars
Mr Fandango
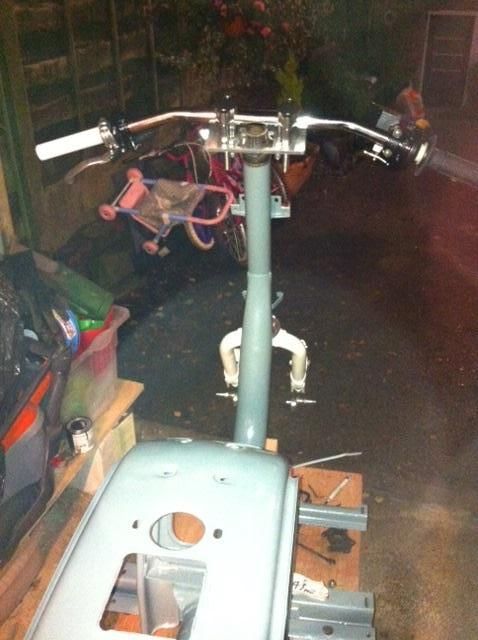
Yours was one of the scoots that influenced me on changing headsets, I had a peak at your photobucket / build pics (very good, love the paint). I have found a gear shifter with elbows built in, although the internals are plastic so I'm not sure if there up to lambretta abuse...if not I'll buy an ally one like yours.
These pics show sort of what I'm trying achieve
The position of the lid that's under the clamp may move further forward, but I've withheld from cutting it yet as I don't have a chrome disc yet to centre it on.
Cheers
Mike


