Page 15 of 25
Re: Rotax 300 builld
Posted: Tue Mar 24, 2015 7:36 pm
by gerryjunior
very tidy work , looks great , brilliant project .
Re: Rotax 300 builld
Posted: Wed Mar 25, 2015 8:13 pm
by Spanish Fly
AWESOME is a much over used word but on this occasion.............

Re: Rotax 300 builld
Posted: Sat Apr 25, 2015 6:25 am
by RManson
Thanks for the kind words guys! I'm having a ball putting this all together. Progress is a bit slow, but we're creeping up on things...
Got the coolant lines routed and sorted out. Will tidy everything up once it comes time for final assembly, for now things are held together using whatever hose clamps i could find lying around. Water pump is on the side opposite the outlet on the head, flowing from the radiator to the bottom of the cylinder.
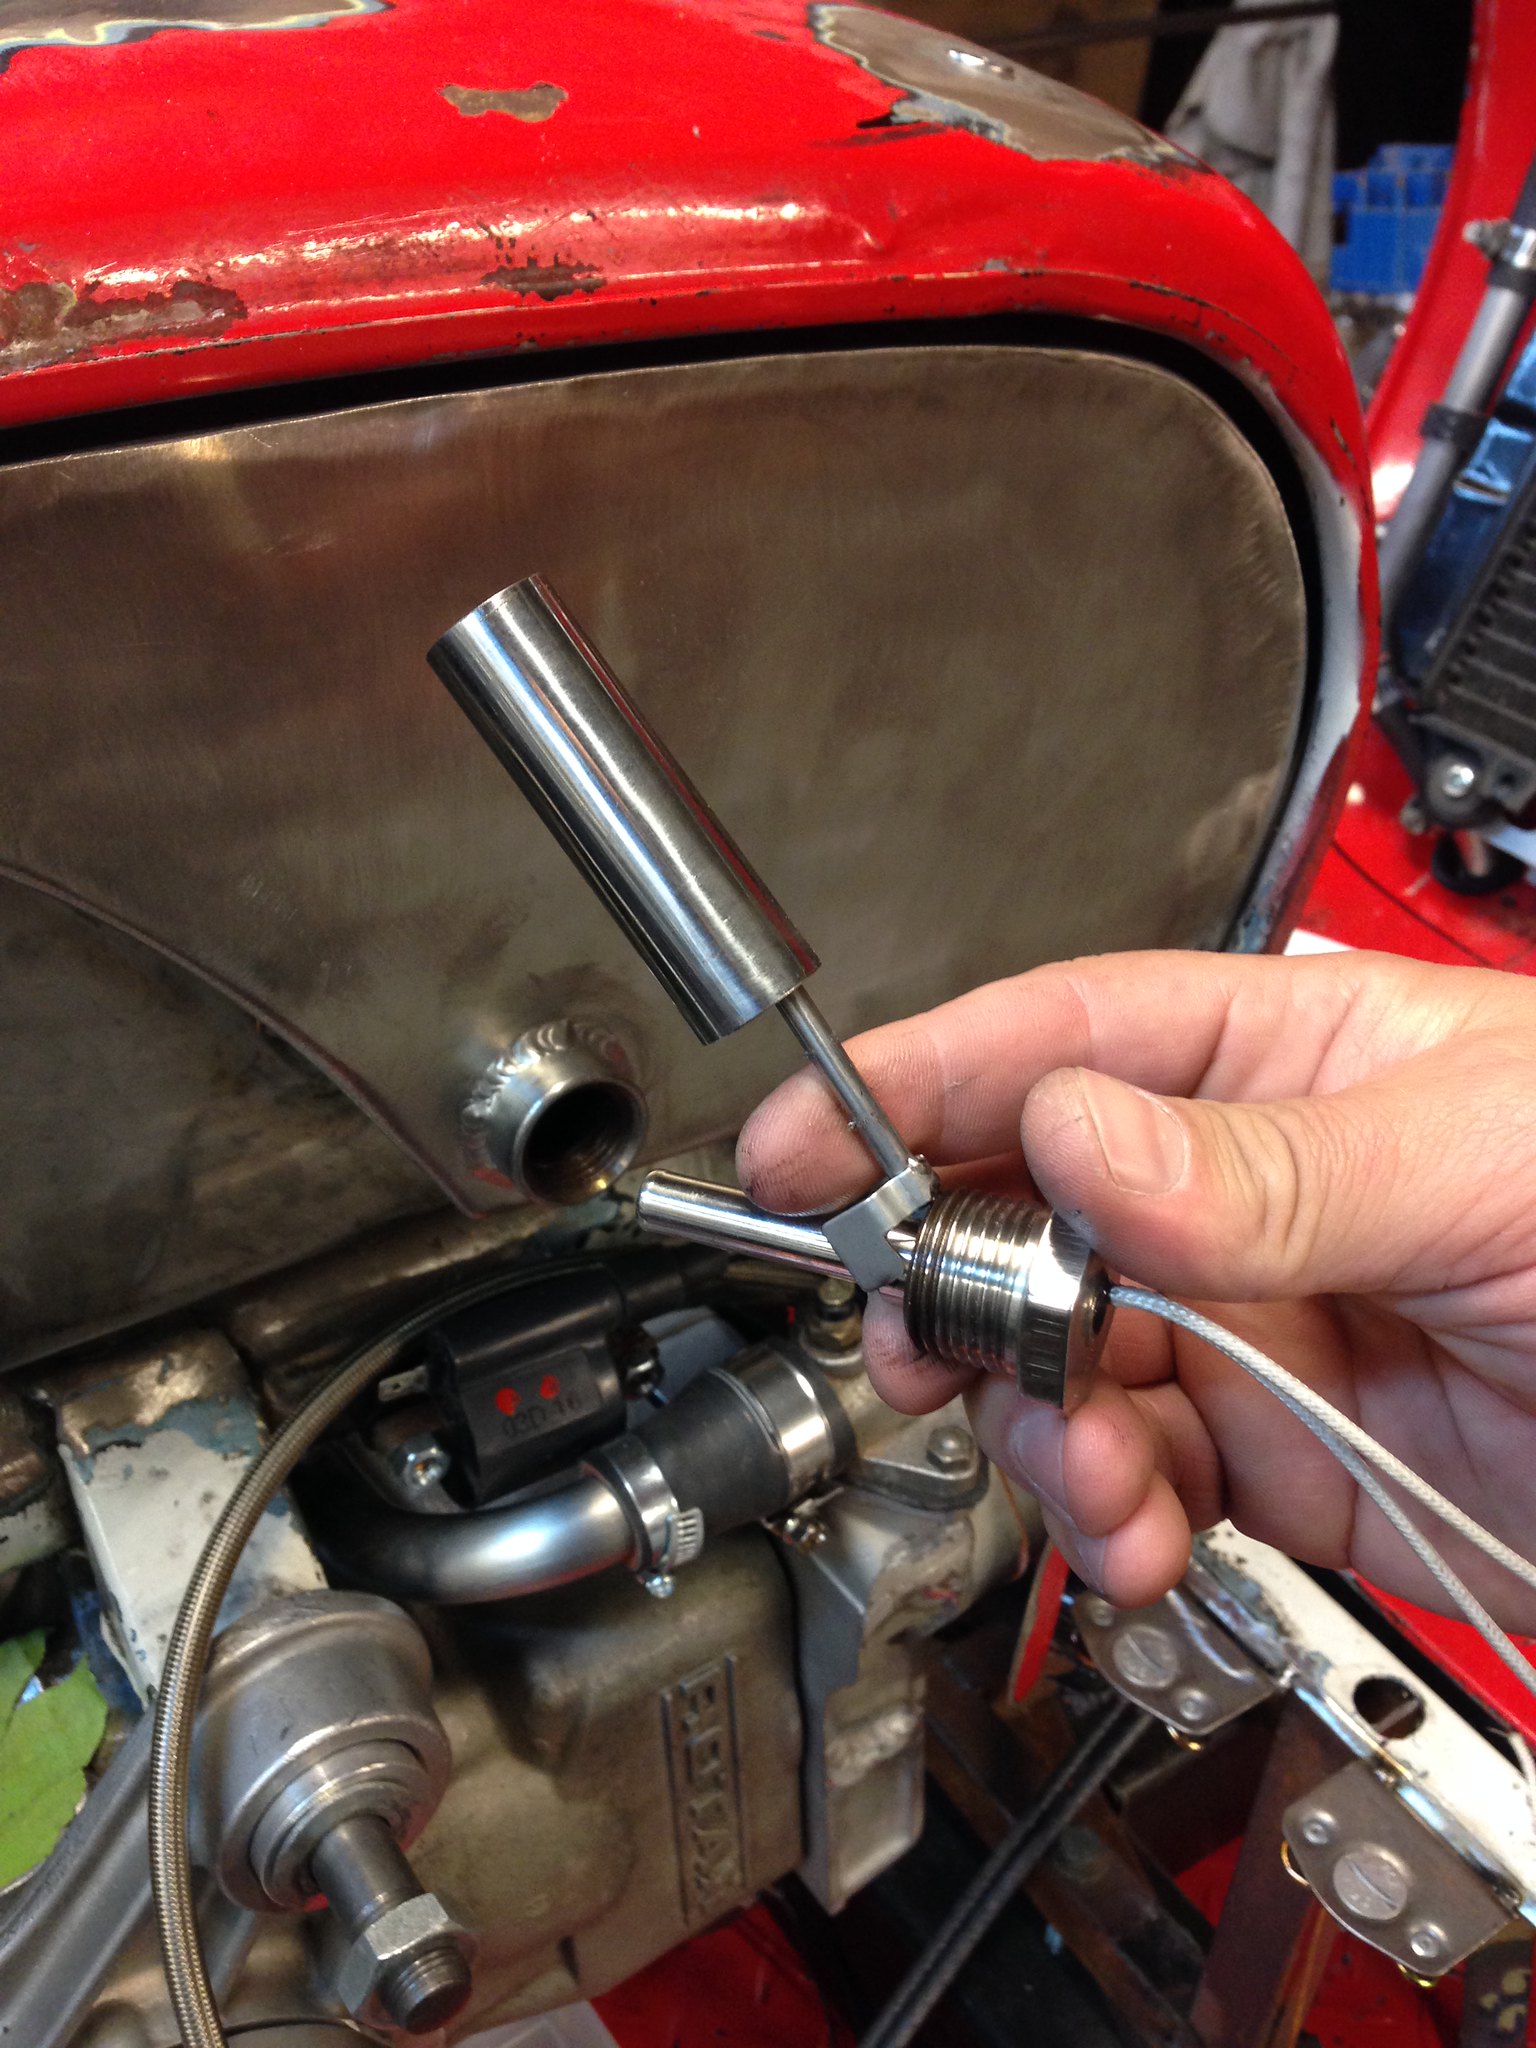
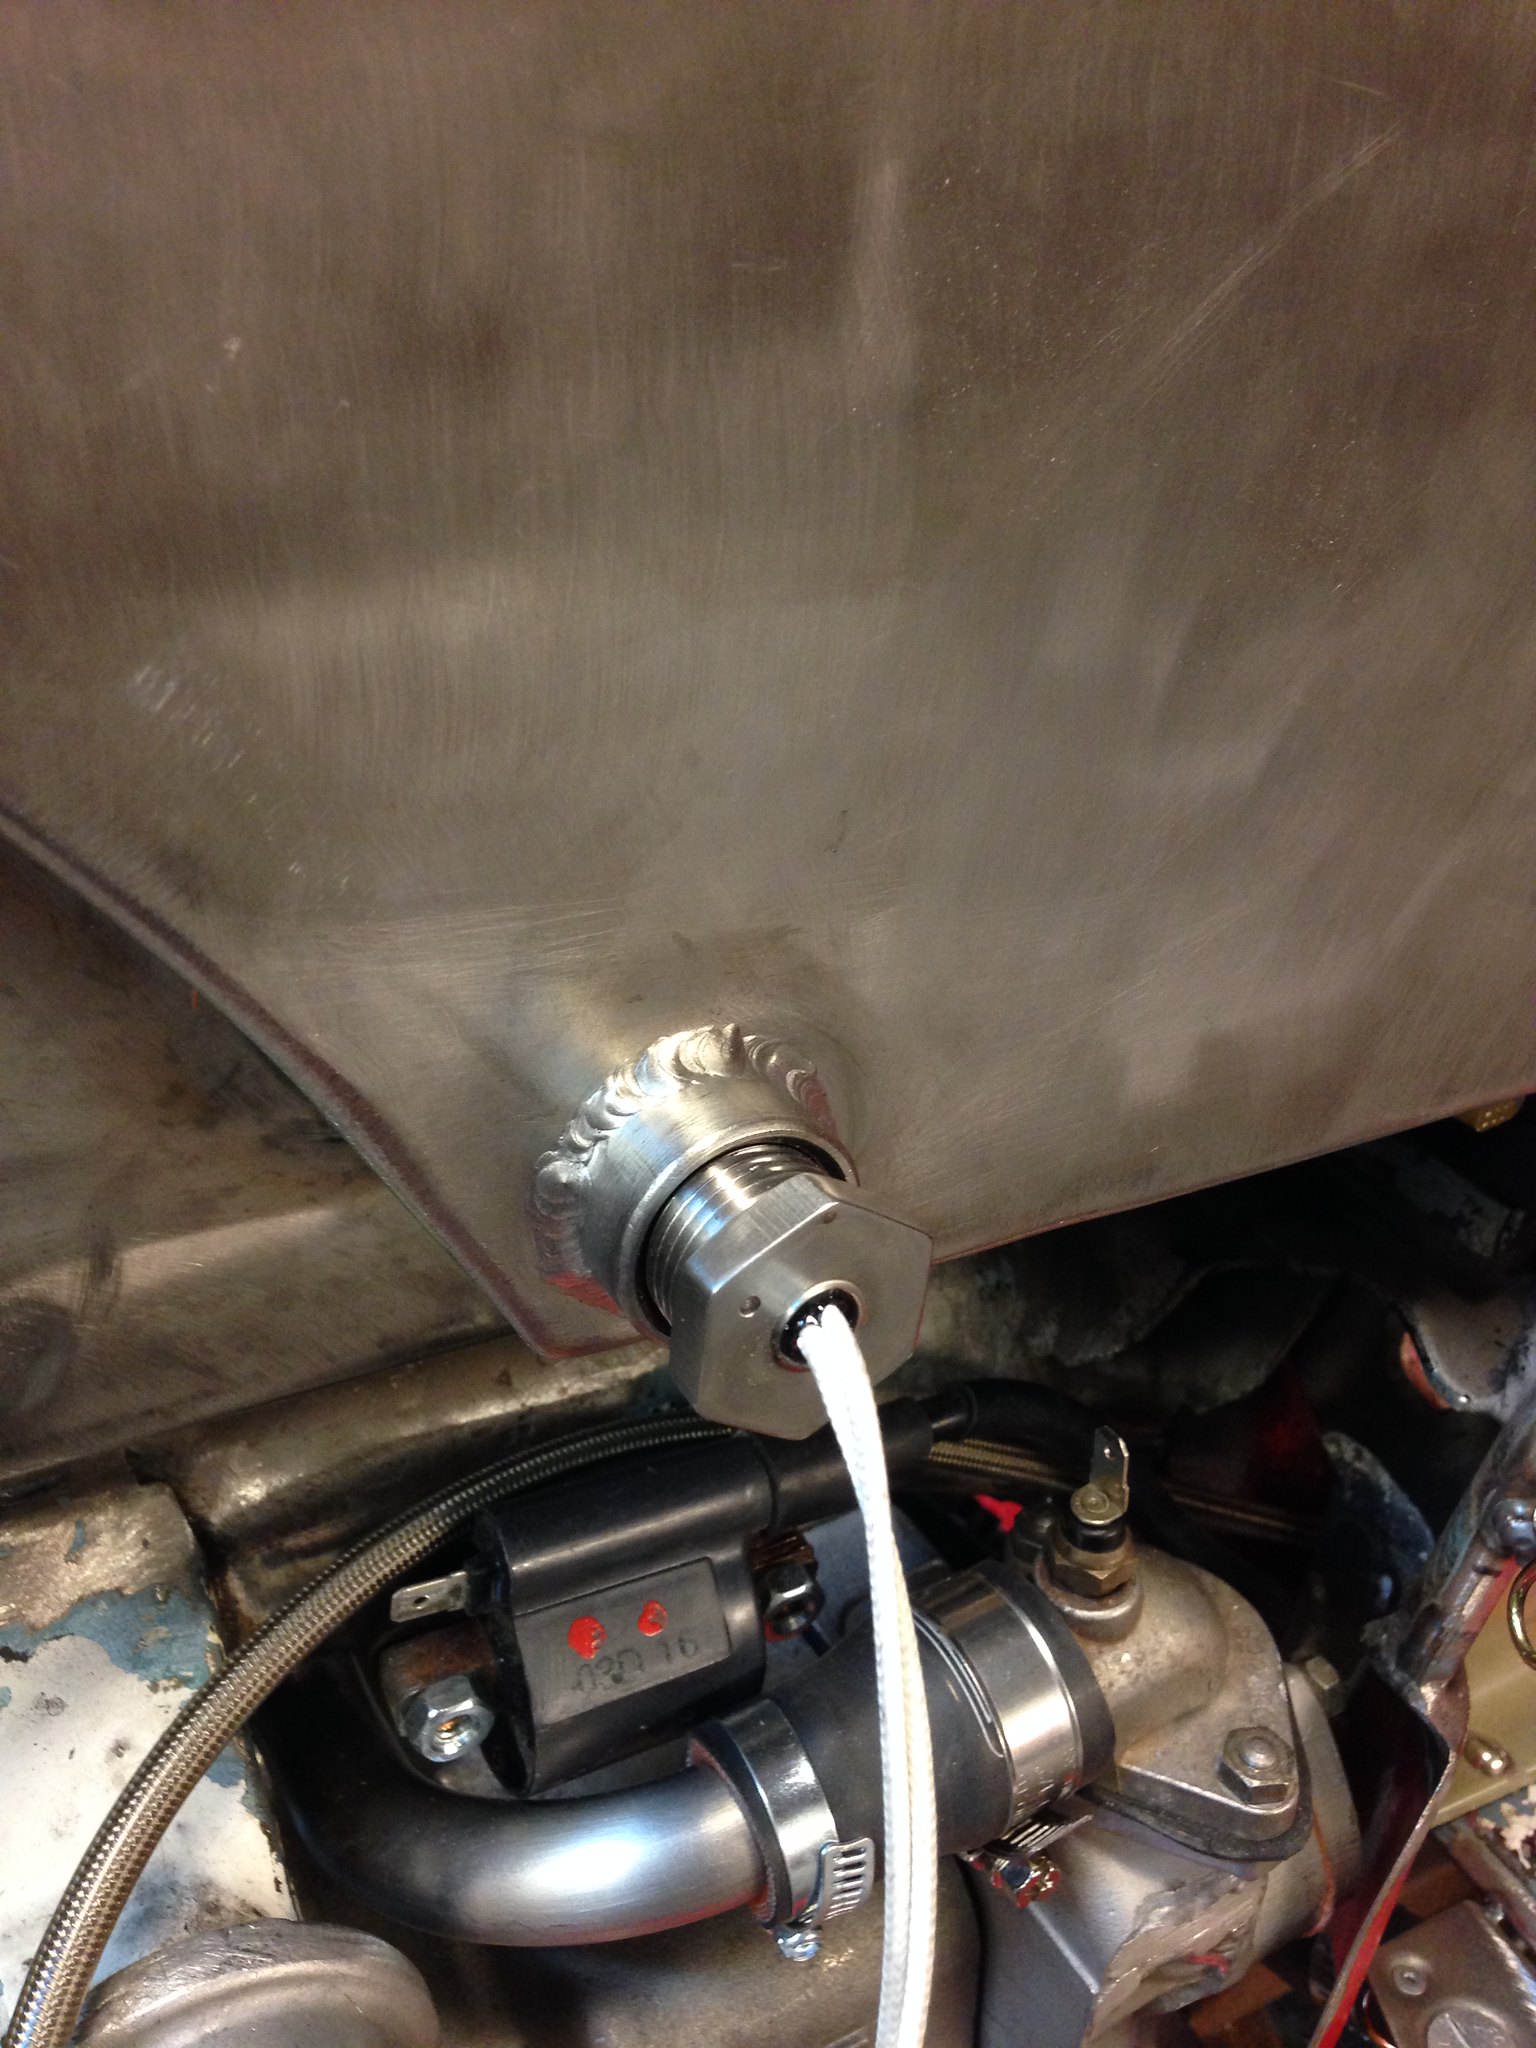
Here's what I'm using for the low-fuel sending unit.
 Rotax Lamby build-119
 by
PotvinV8, on Flickr
 Rotax Lamby build-120
 by
PotvinV8, on Flickr
 Rotax Lamby build-121
 by
PotvinV8, on Flickr
Re: Rotax 300 builld
Posted: Sat Apr 25, 2015 6:28 am
by RManson
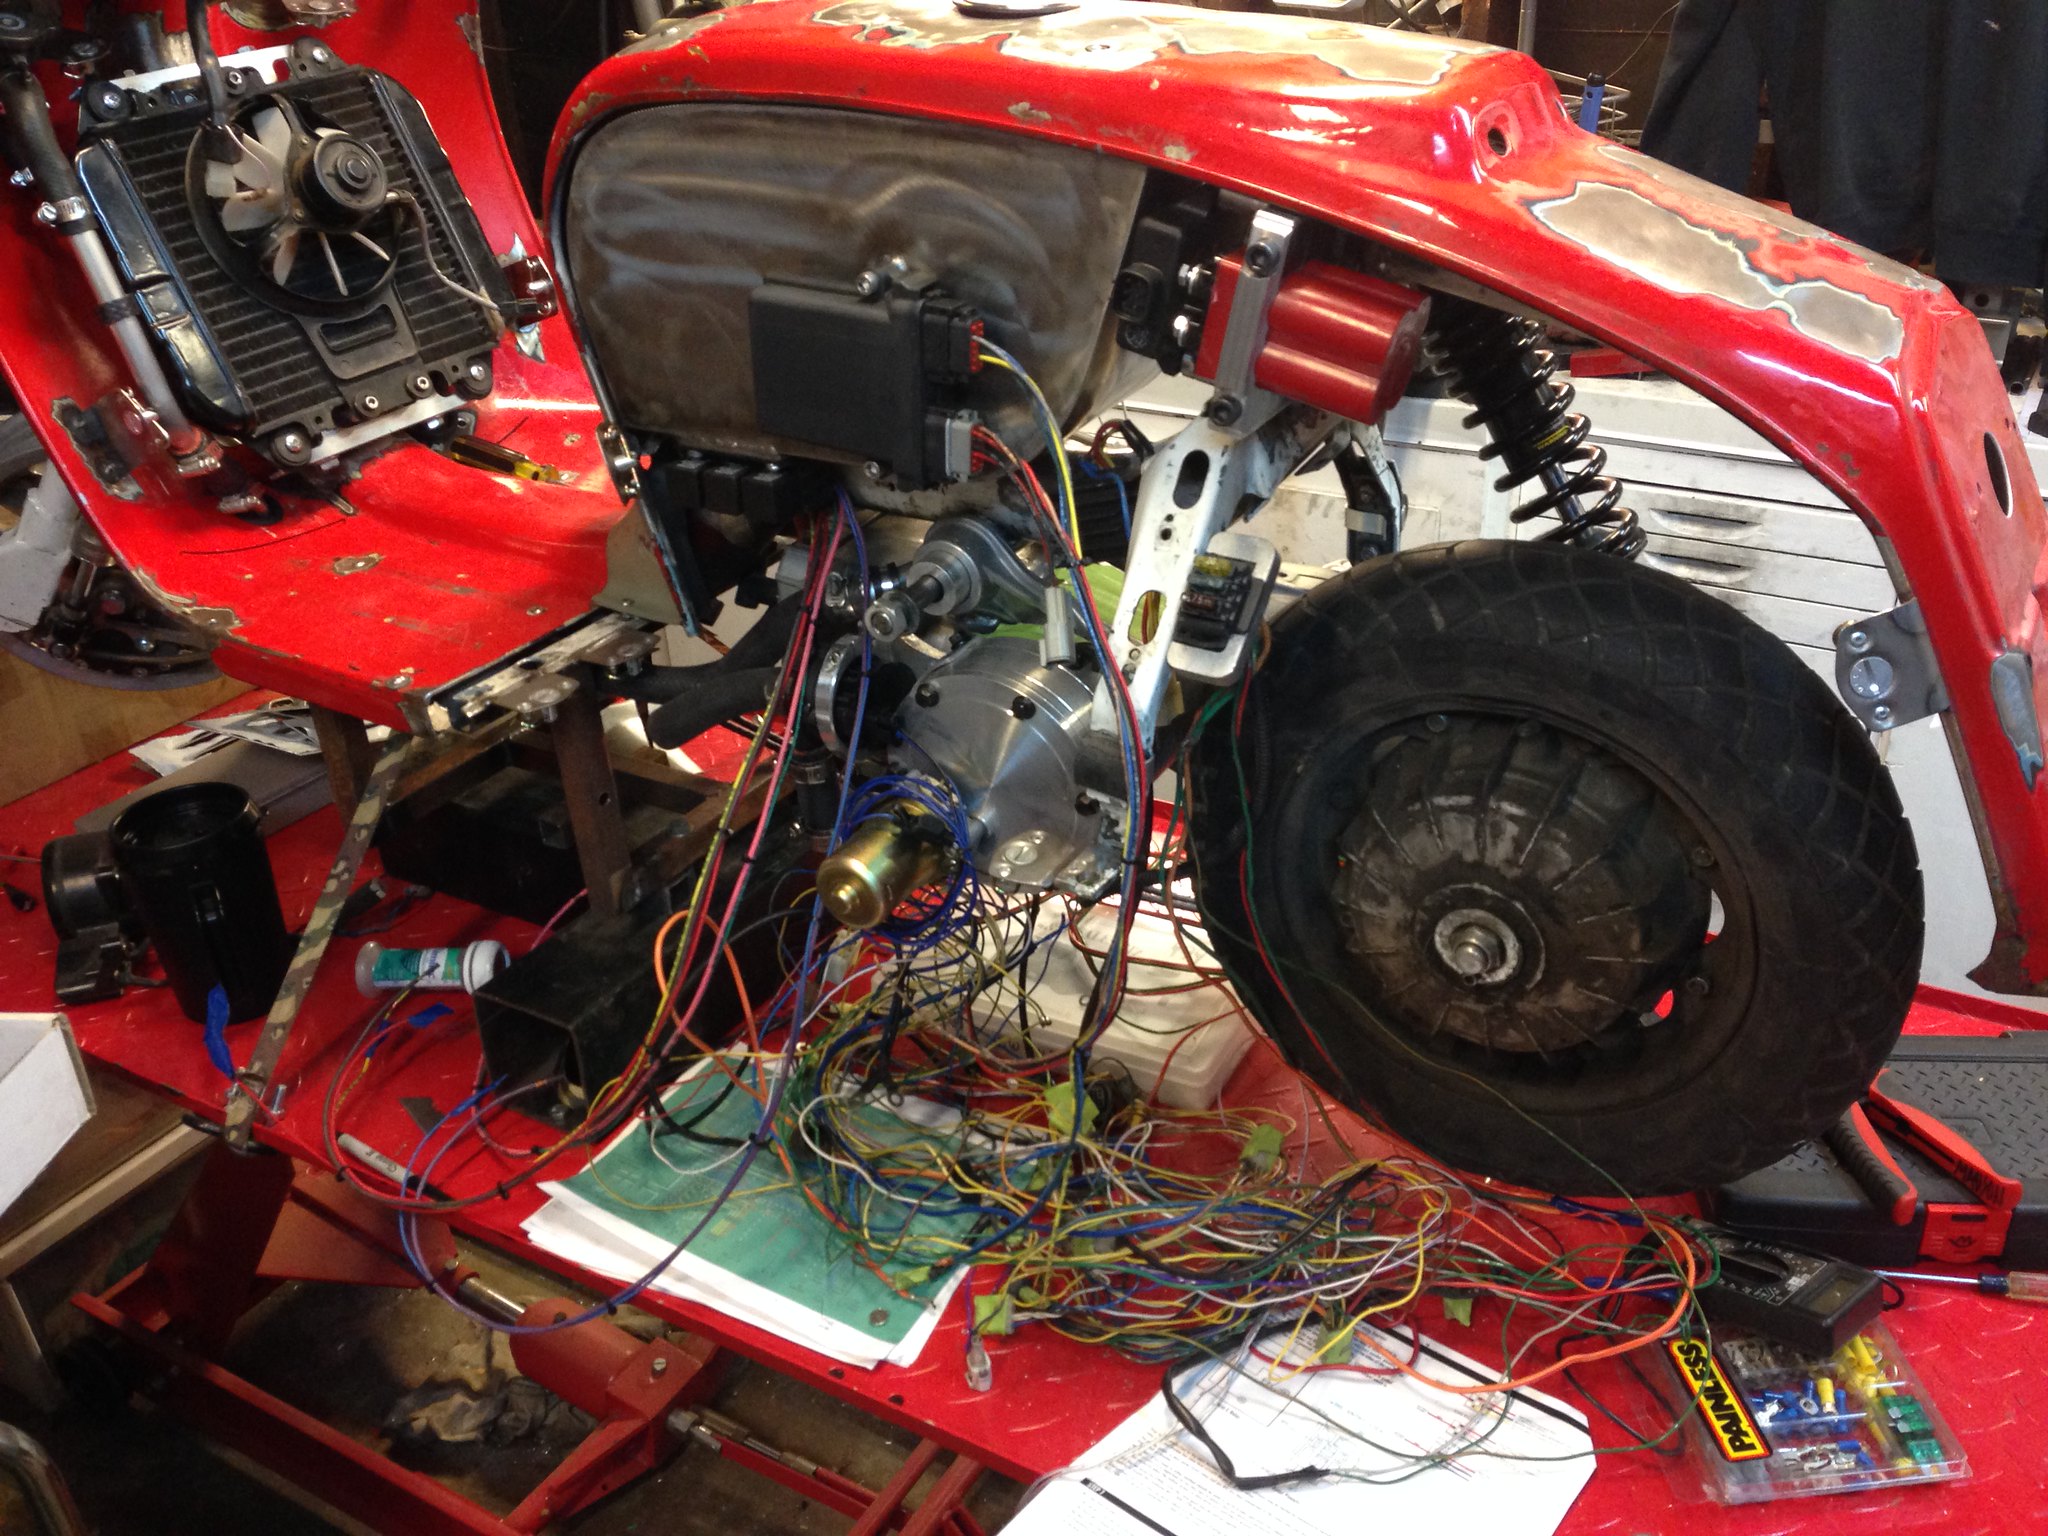
Here's the next project, sorting out the Aprilia wiring and incorporating a couple additional components. This time Sunday I should have a sore brain for sure!
*You can just see the electric water pump and the coolant lines peeking out from next to the starter in this shot.
 Rotax Lamby build-122
 by
PotvinV8, on Flickr
Re: Rotax 300 builld
Posted: Fri May 15, 2015 11:46 am
by Minority
Love all the neat engineering going into this one, can't wait to see the finished item!
Re: Rotax 300 builld
Posted: Sat Jul 04, 2015 7:21 am
by RManson
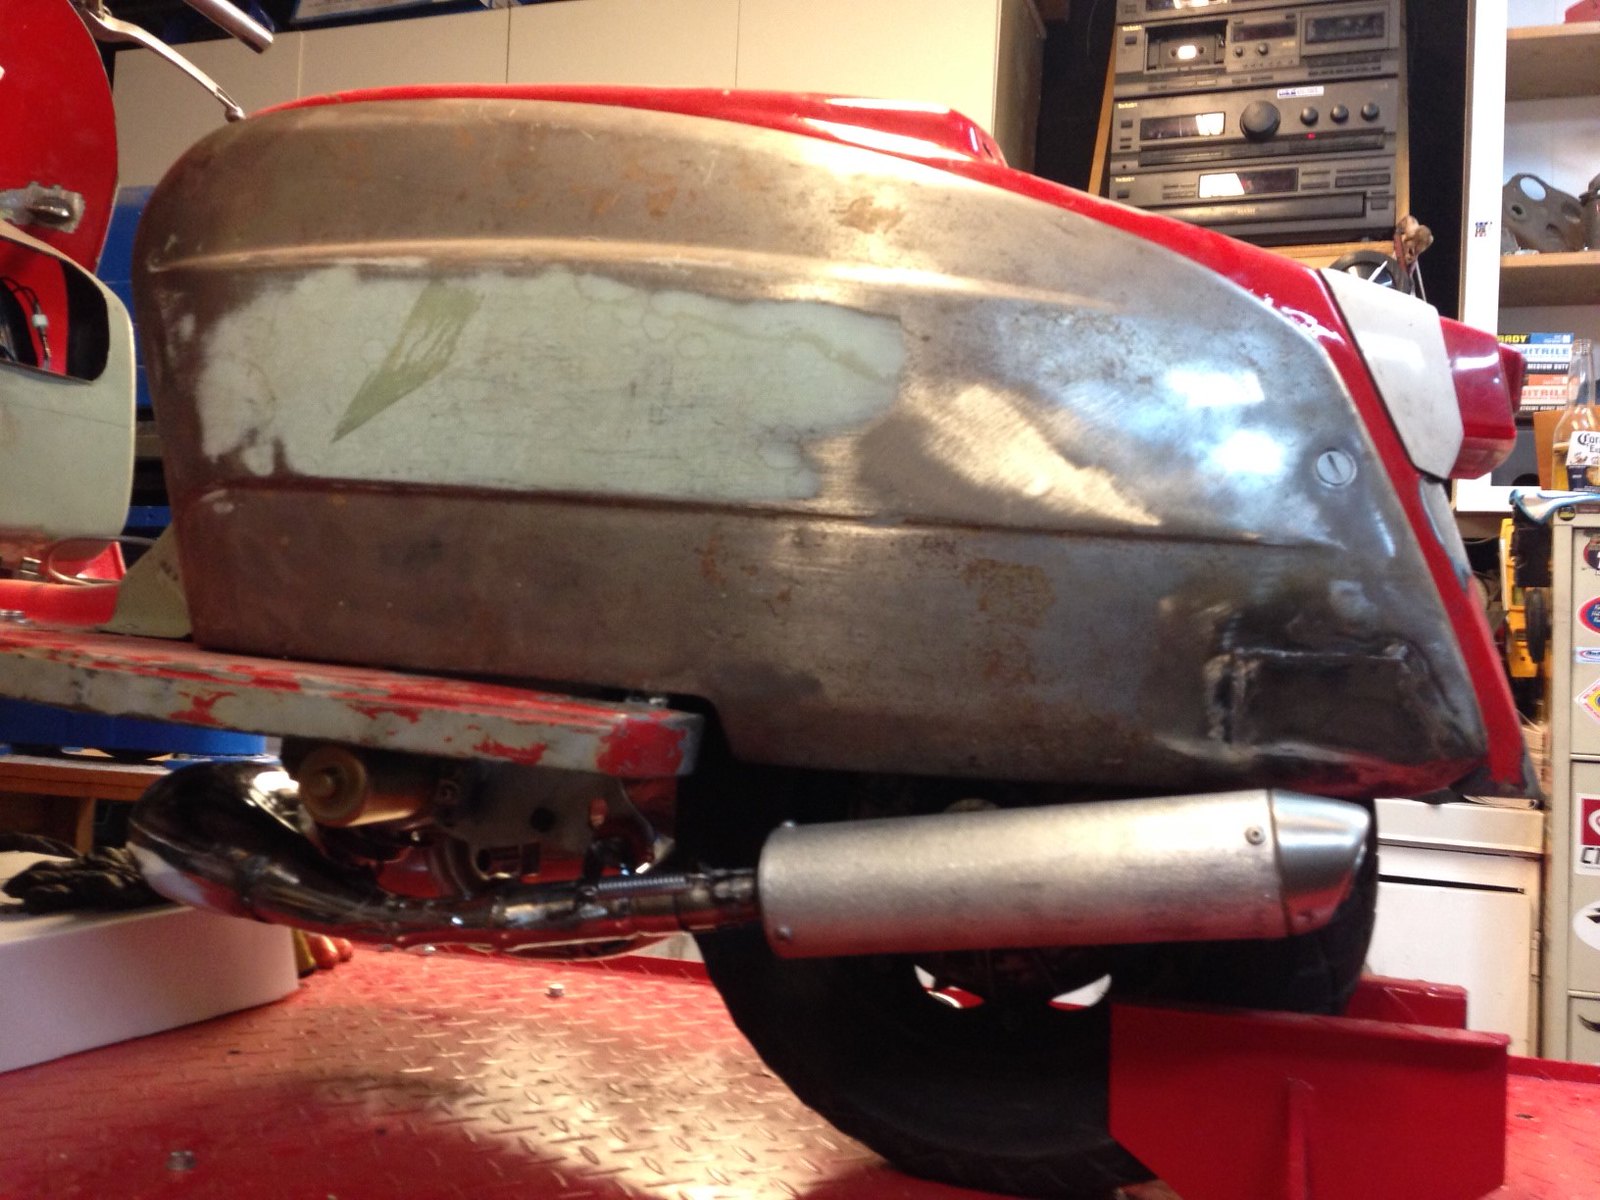
With the wiring sorted, I figured it was time to deal with the exhaust. My original plan was to modify the stock 583 Skidoo exhaust, but it's WAY too big. Instead, I managed to finagle a slightly used FMF expansion chamber for a Honda CR250. The price was right and it will at least get me down the road. Also wrangled a Pro Circuit R304 silencer to finish off the setup.
 Rotax Lamby build-123
 by
PotvinV8, on Flickr
Re: Rotax 300 builld
Posted: Sat Jul 04, 2015 7:25 am
by RManson
So here's how it started...
 Rotax Lamby build-124
 by
PotvinV8, on Flickr
Naturally, a dirt bike exhaust is routed a bit differently than a Lambretta. That said, I needed to cut up the CR250 pipe but wanted to retain as much of the original pipe design as possible. I ended up cutting each section at the seam, to be welded back together again shortly...
Re: Rotax 300 builld
Posted: Sat Jul 04, 2015 7:39 am
by RManson
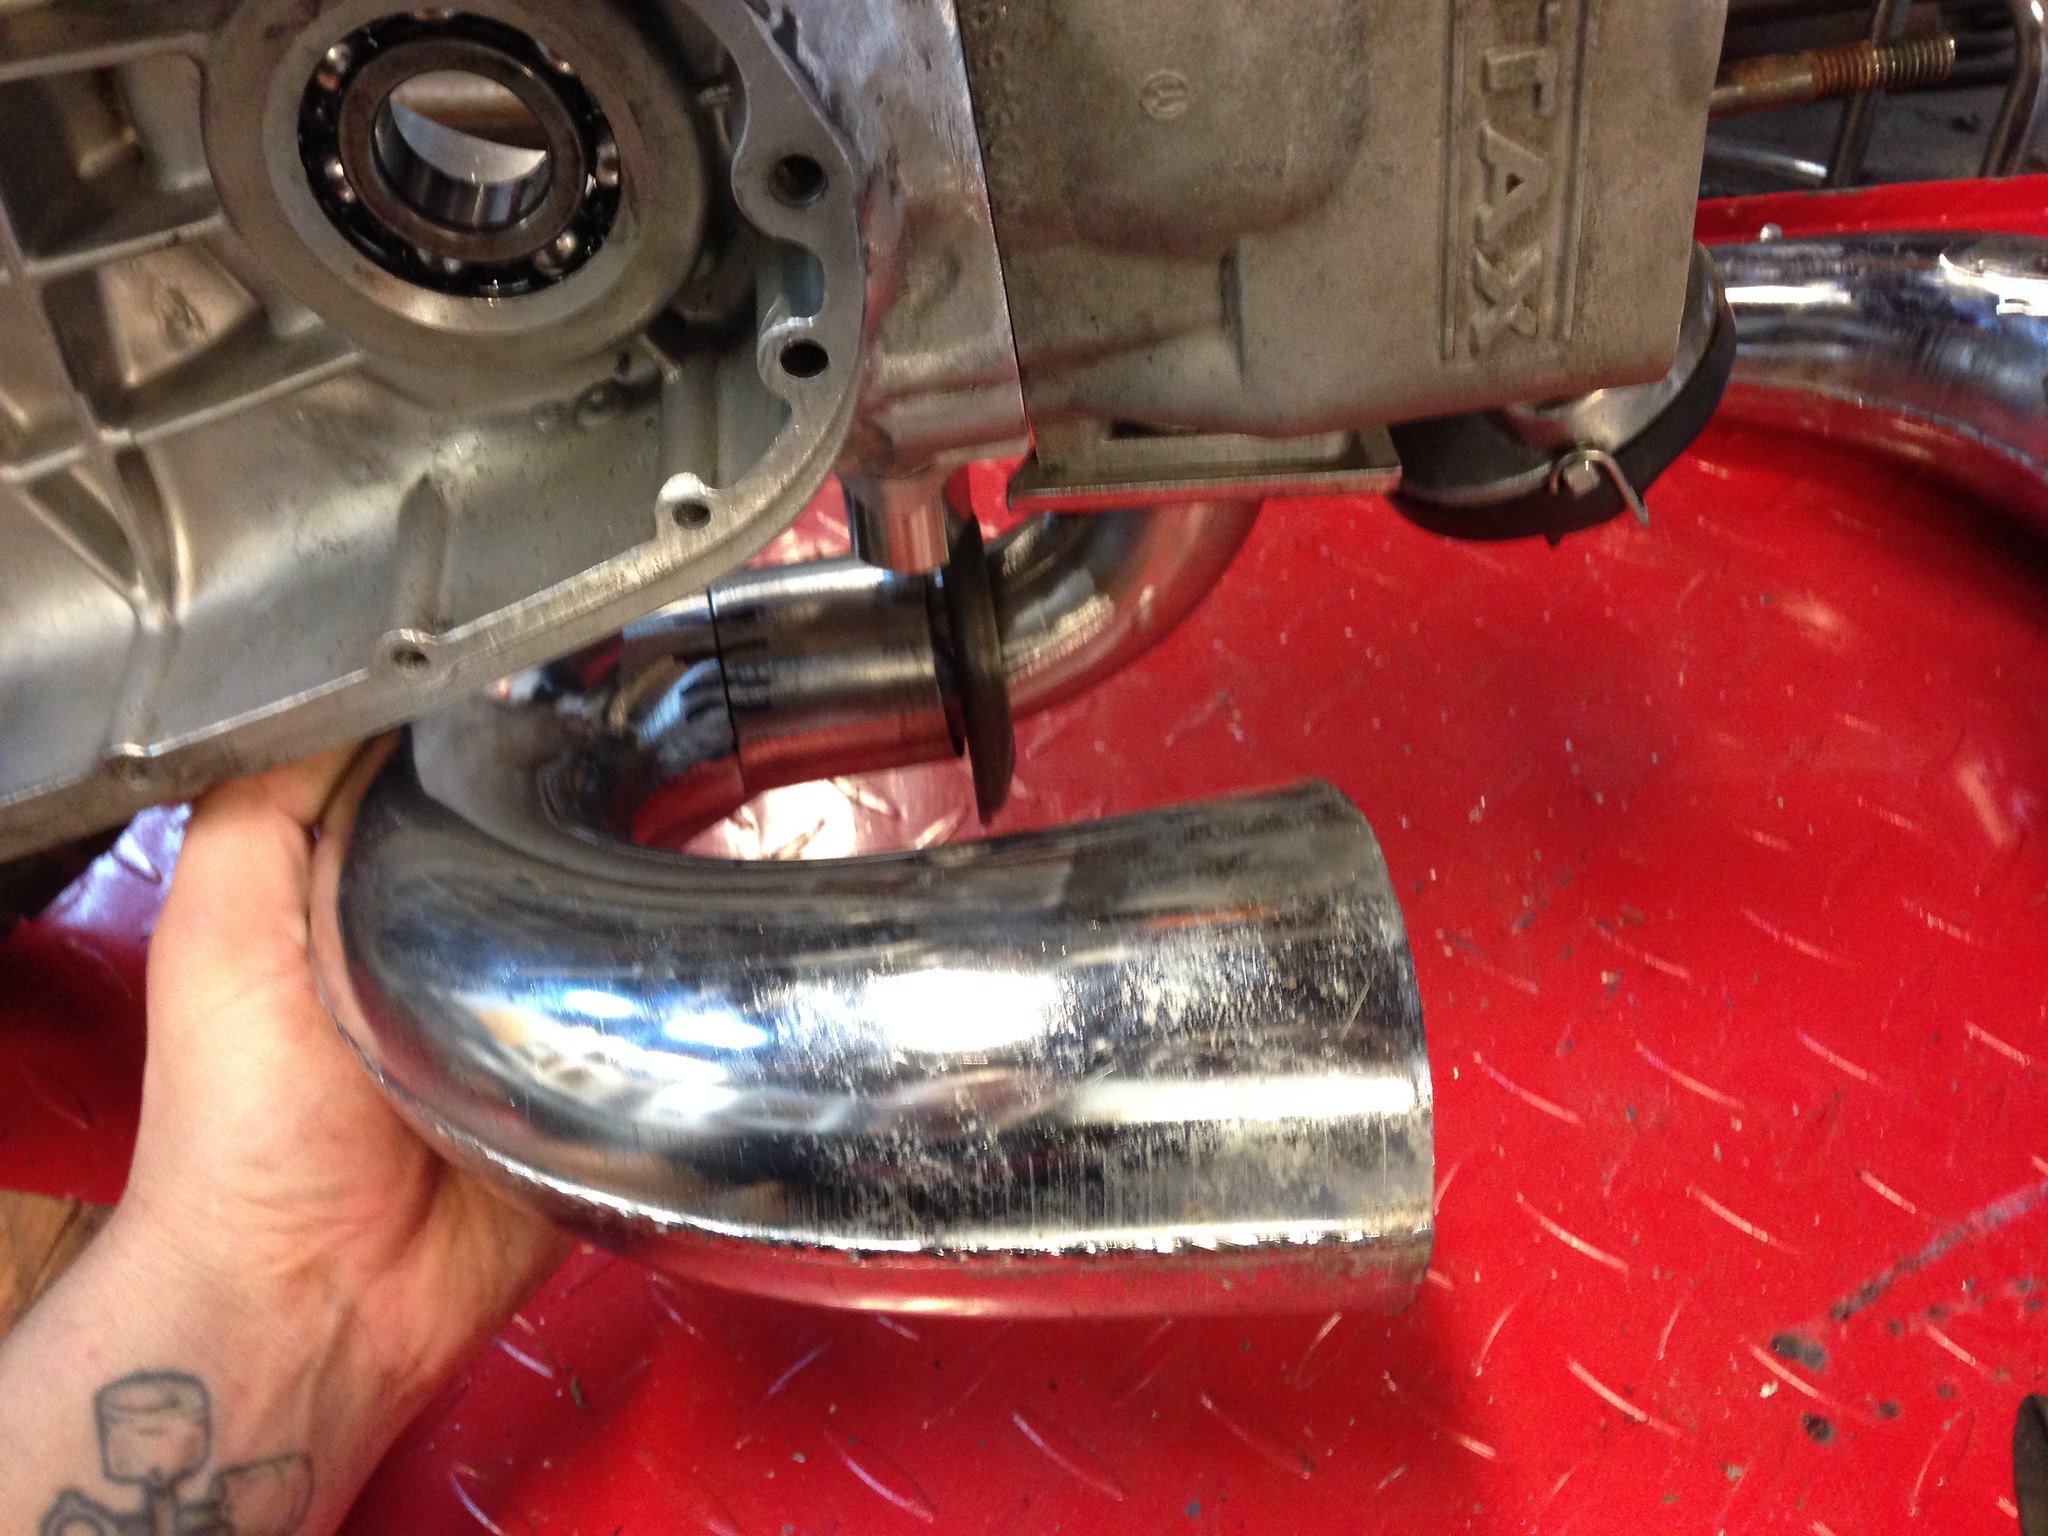
The first step is to knock out an exhaust manifold that will serve as the foundation for the pipe. I made this as tight as possible so as to maintain ground clearance while preserving the exhaust port size as well. This manifold is fabricated from stainless steel and bolts directly to the cylinder. The FMF pipe utilized an O-ring seal between the manifold and the pipe, so I cut that section from the stock pipe and used it on the manifold, incorporating the spring flange as well.
 Rotax Lamby build-125
 by
PotvinV8, on Flickr
Re: Rotax 300 builld
Posted: Sat Jul 04, 2015 7:50 am
by RManson
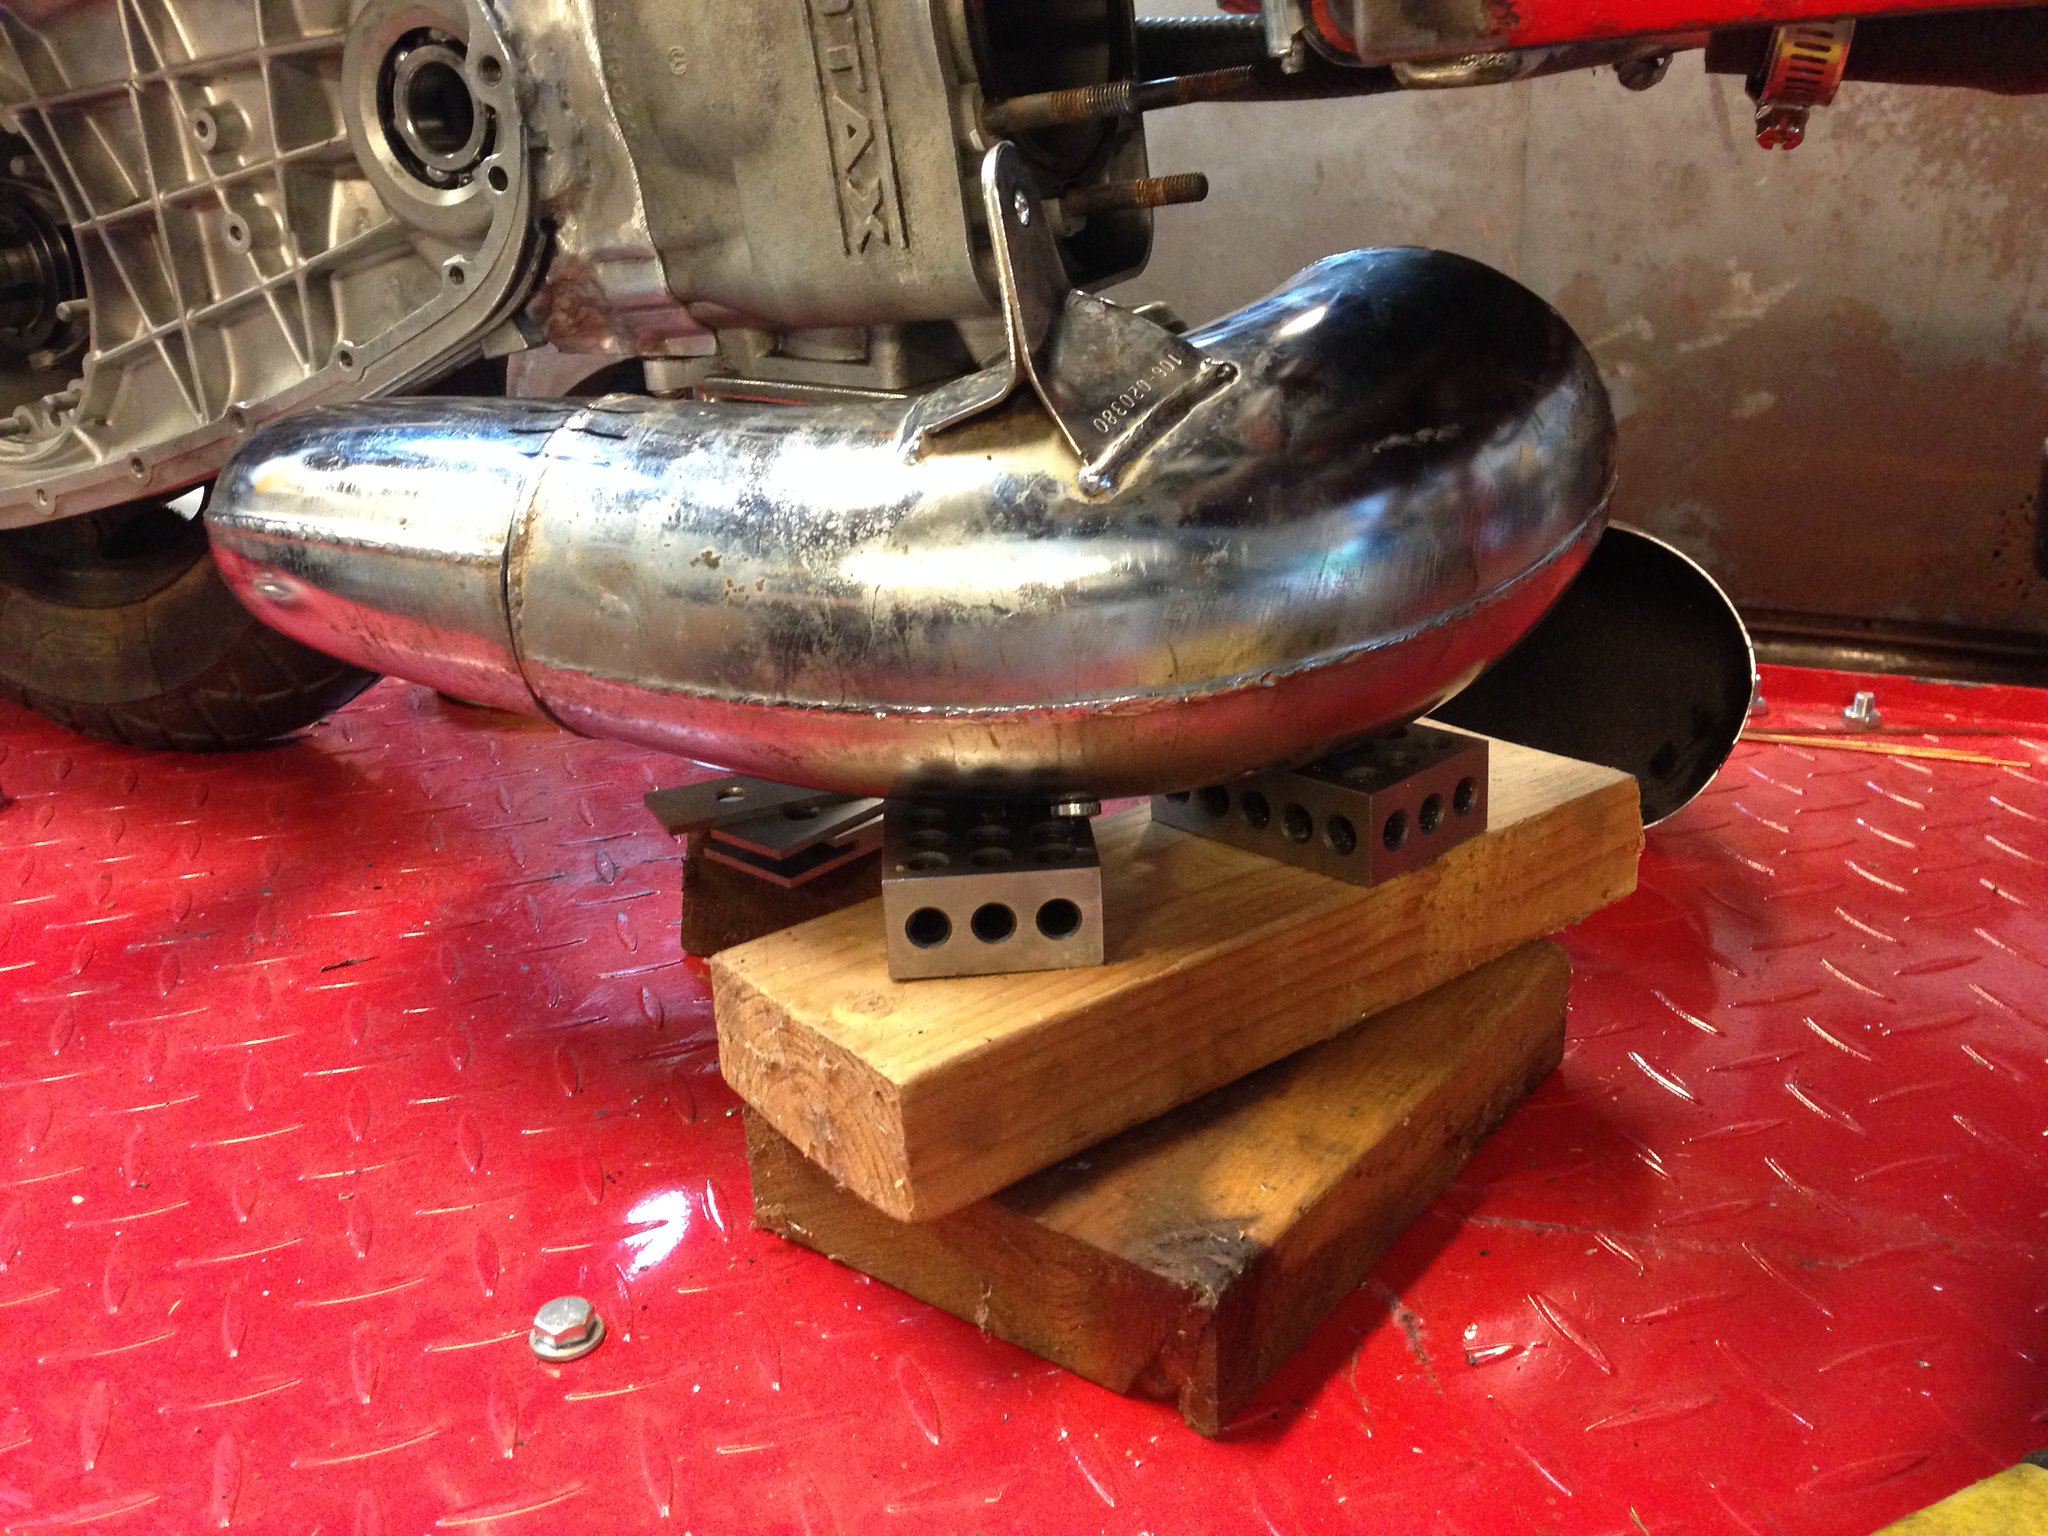
Now we can start fabricating the exhaust! The first cone is set in place, with the angle designed so that the next section just clears the floorboards, resulting in the most ground clearance possible.
 Rotax Lamby build-126
 by
PotvinV8, on Flickr
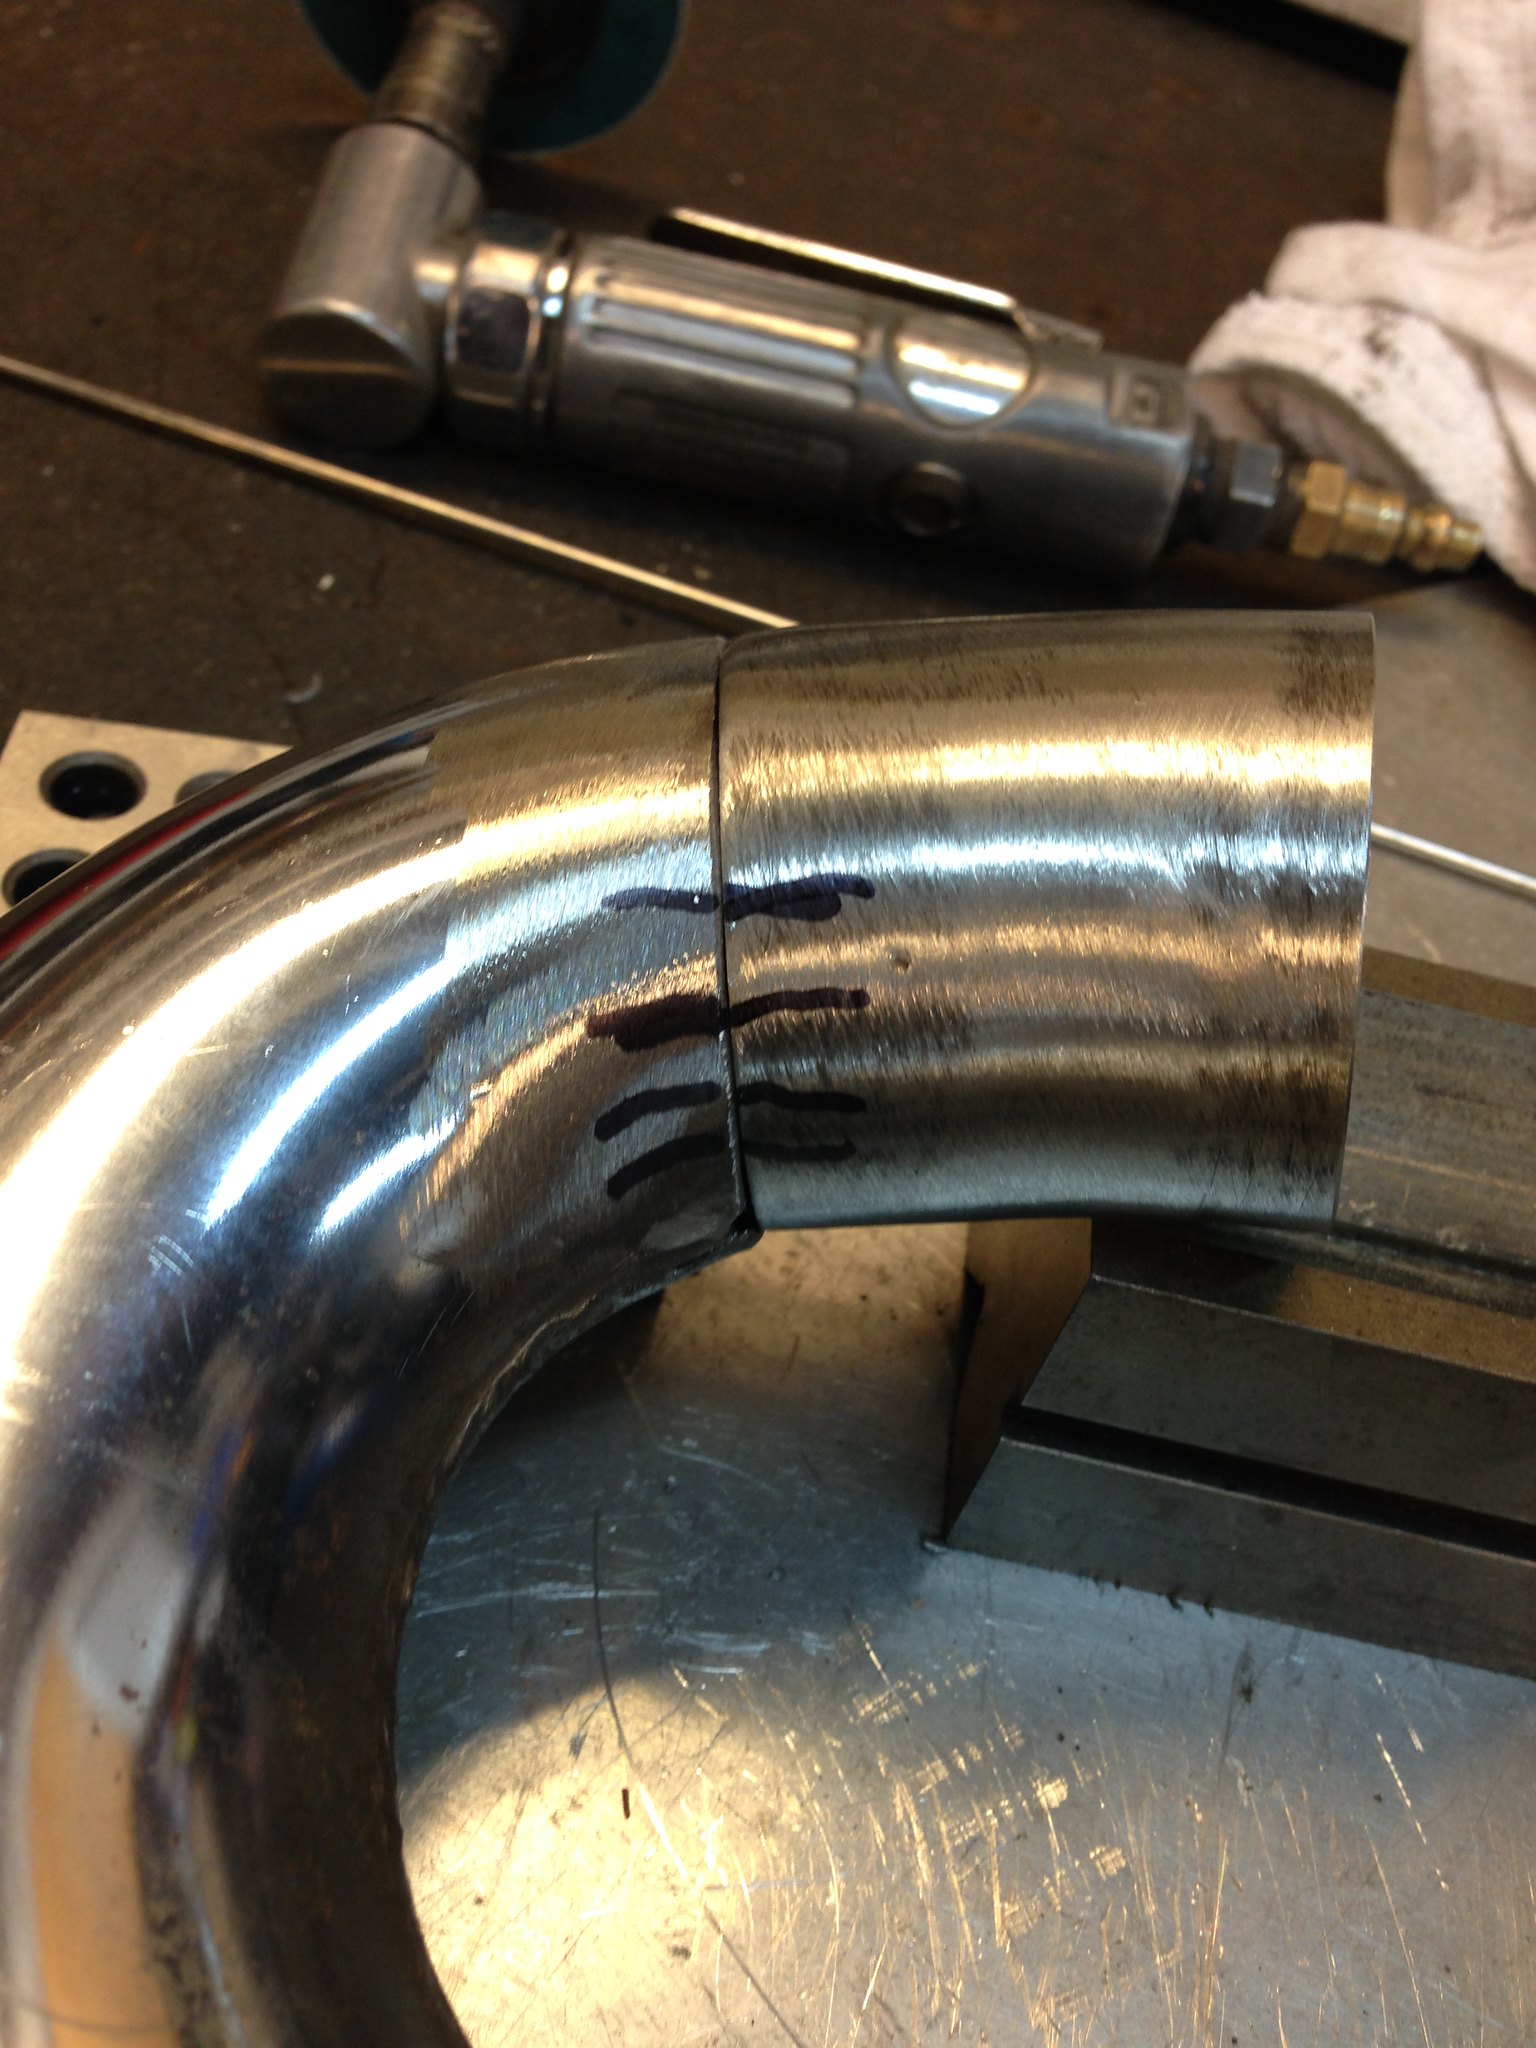
When you're mocking up components that will be not be welded in place, it's necessary to mark them so that the proper "clocking" can be retained. It's as simple as three straight lines marked across the seam.
 Rotax Lamby build-127
 by
PotvinV8, on Flickr
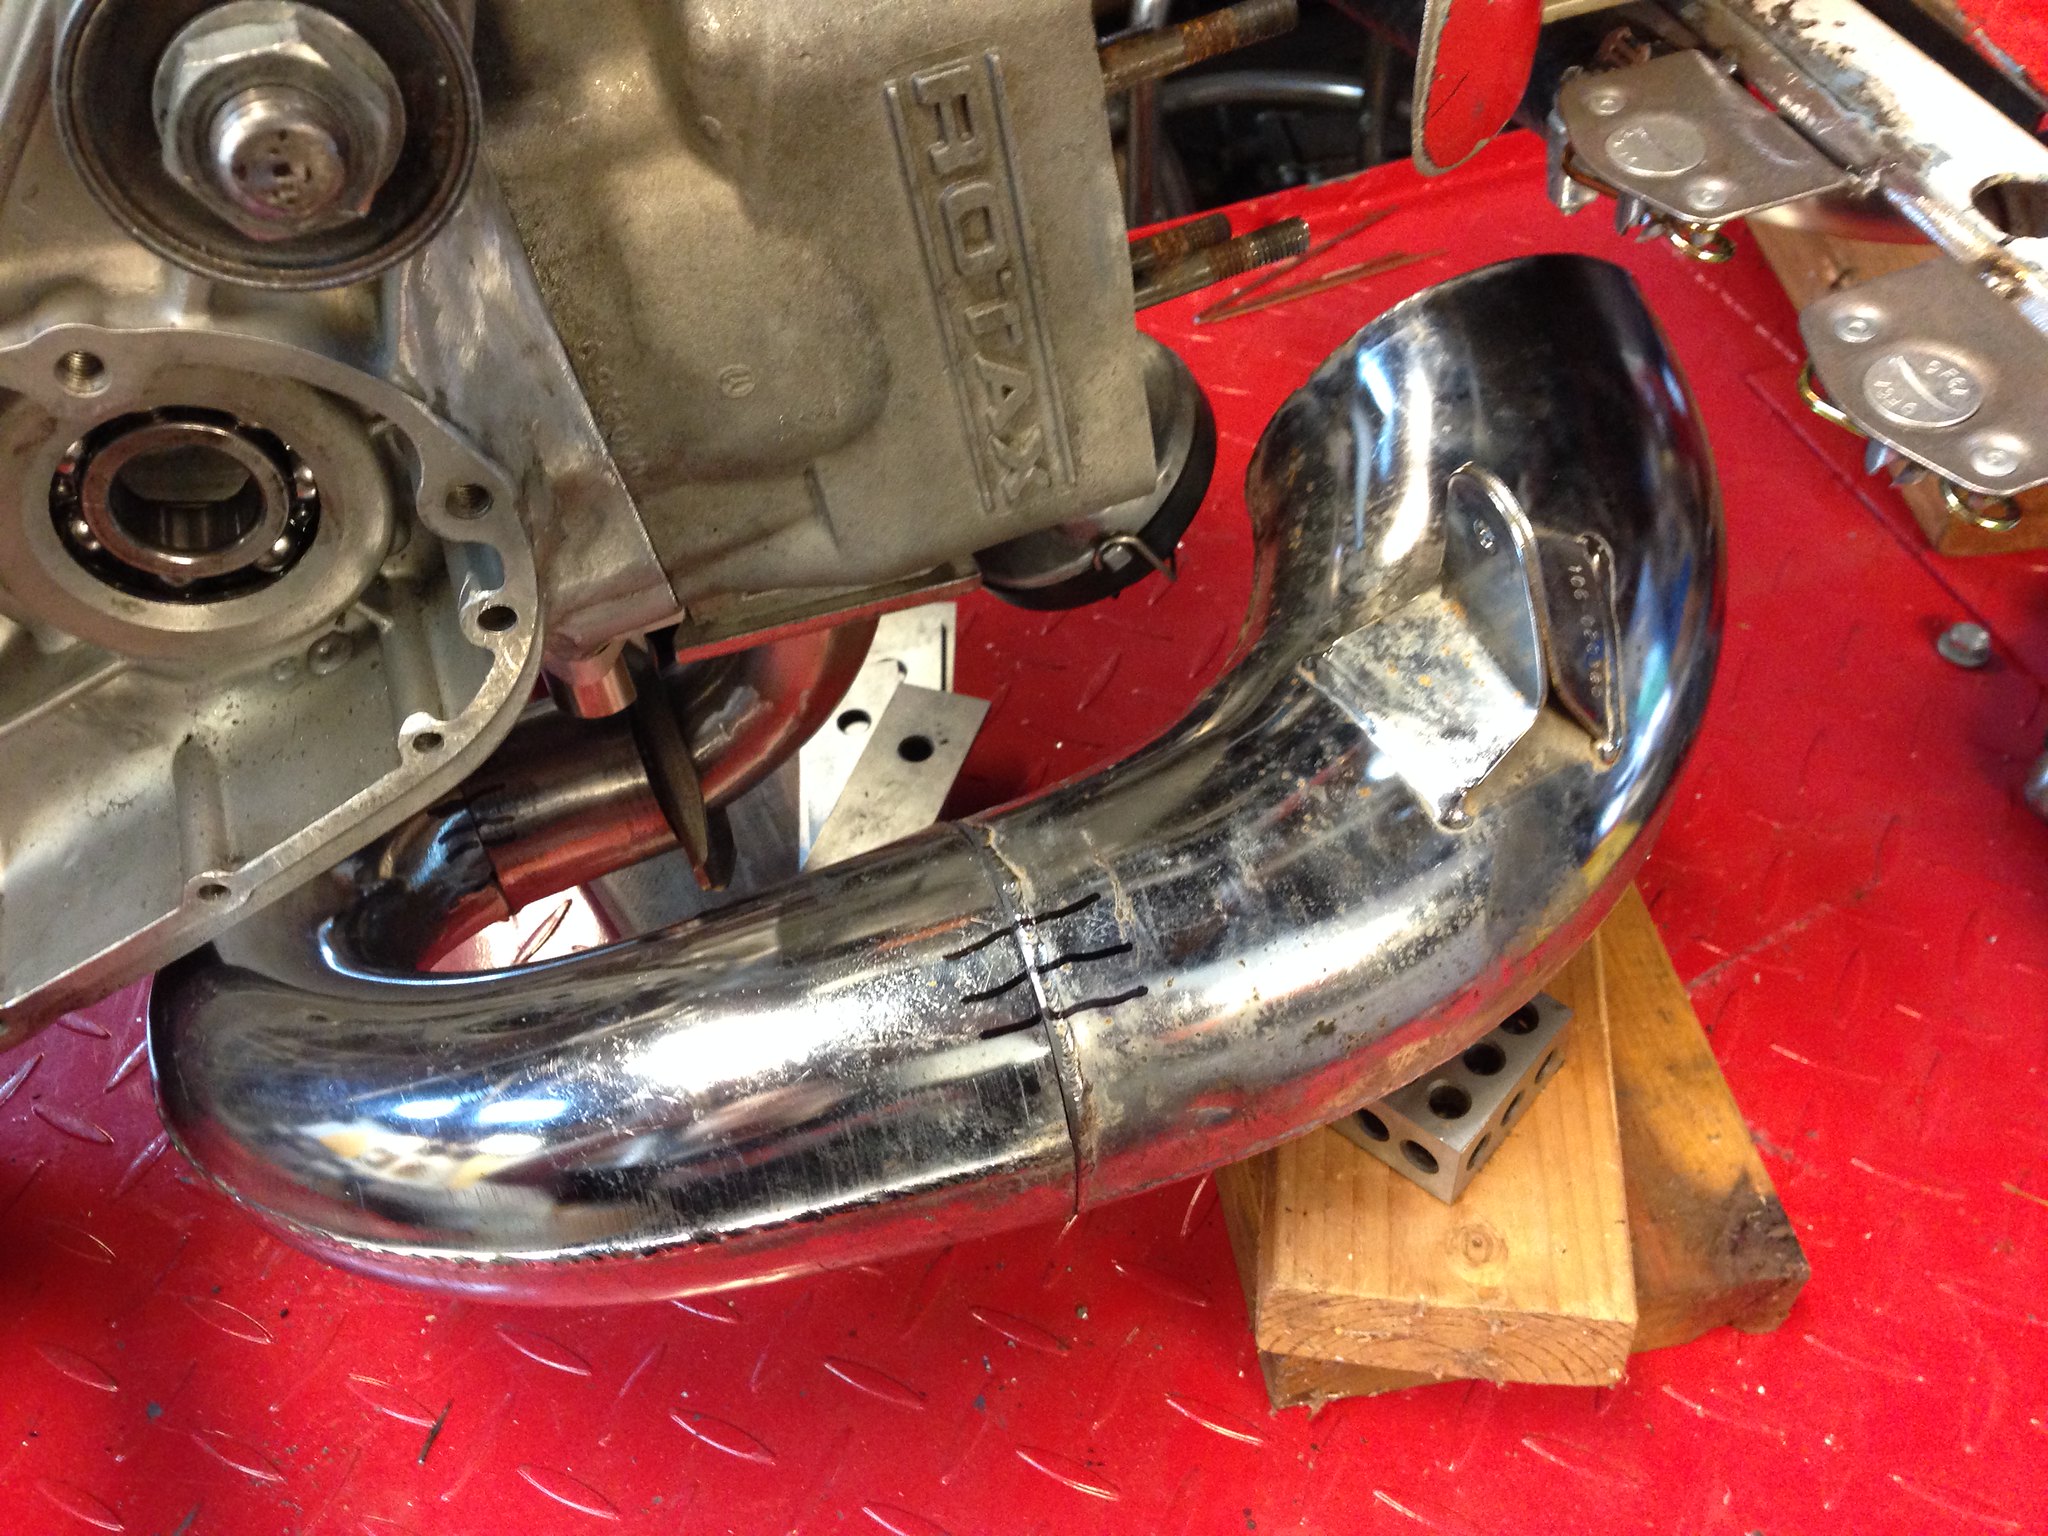
Once the first cone is tacked to the header, the next section can be mocked up and marked for welding.
 Rotax Lamby build-128
 by
PotvinV8, on Flickr
Mocking things up is sometimes as simple as stacking a few 2x4s and a couple 1-2-3 blocks...
 Rotax Lamby build-129
 by
PotvinV8, on Flickr
Re: Rotax 300 builld
Posted: Sat Jul 04, 2015 7:56 am
by RManson
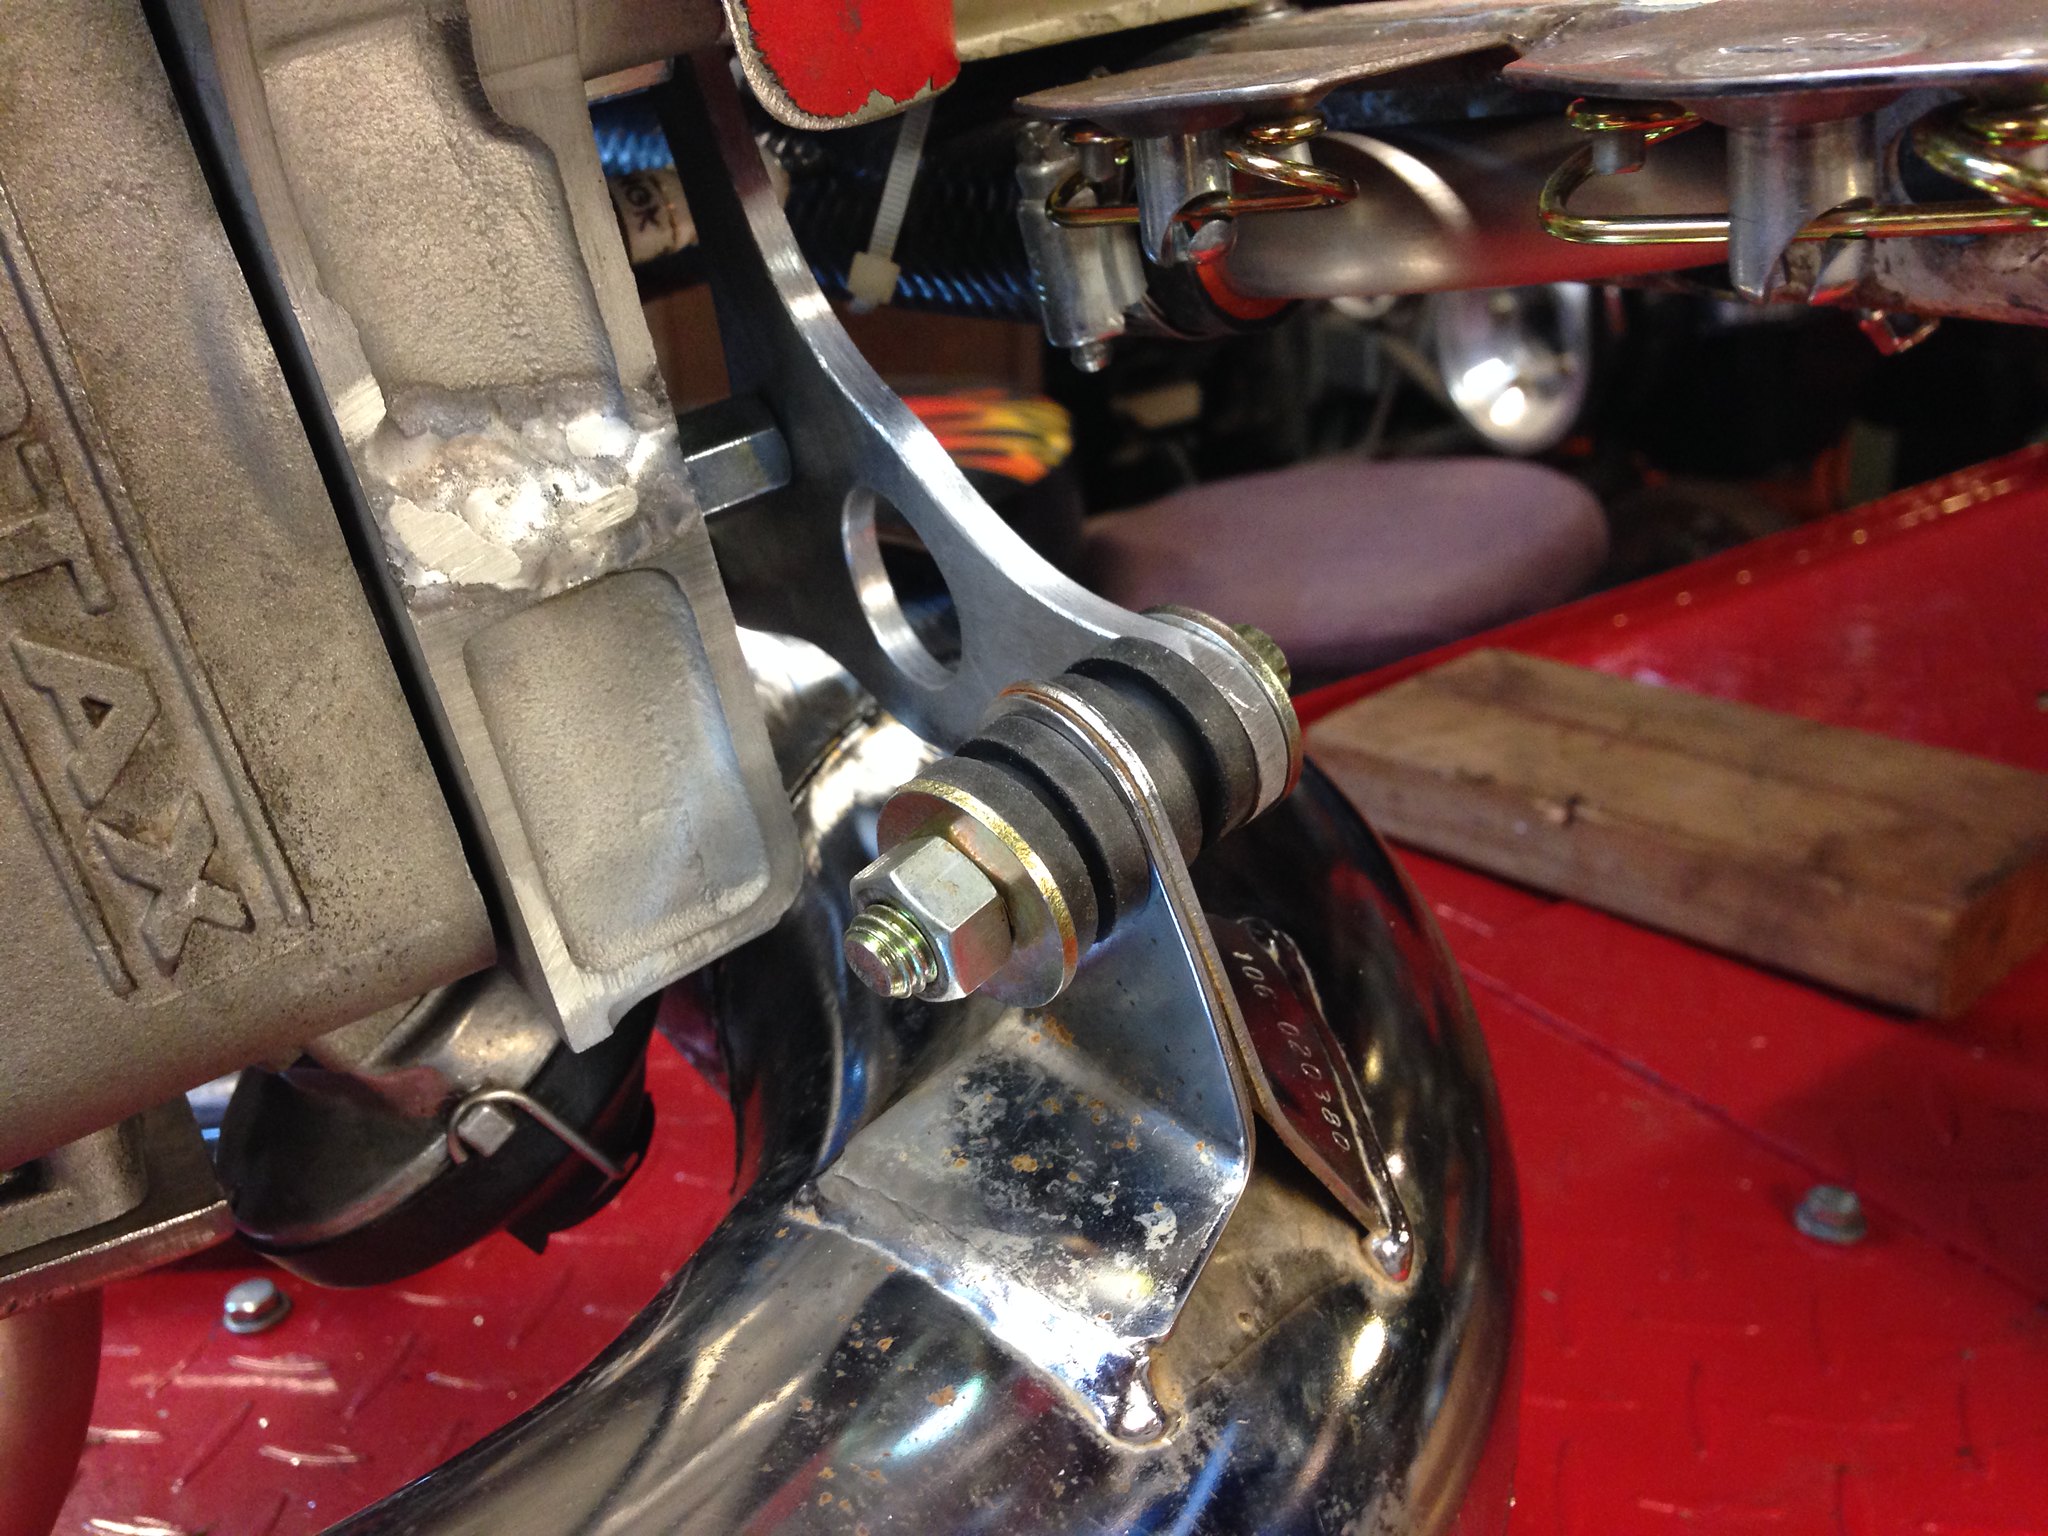
At this point, I'd like to fabricate the first exhaust bracket, utilizing the stock tab on the FMF pipe.
 Rotax Lamby build-130
 by
PotvinV8, on Flickr
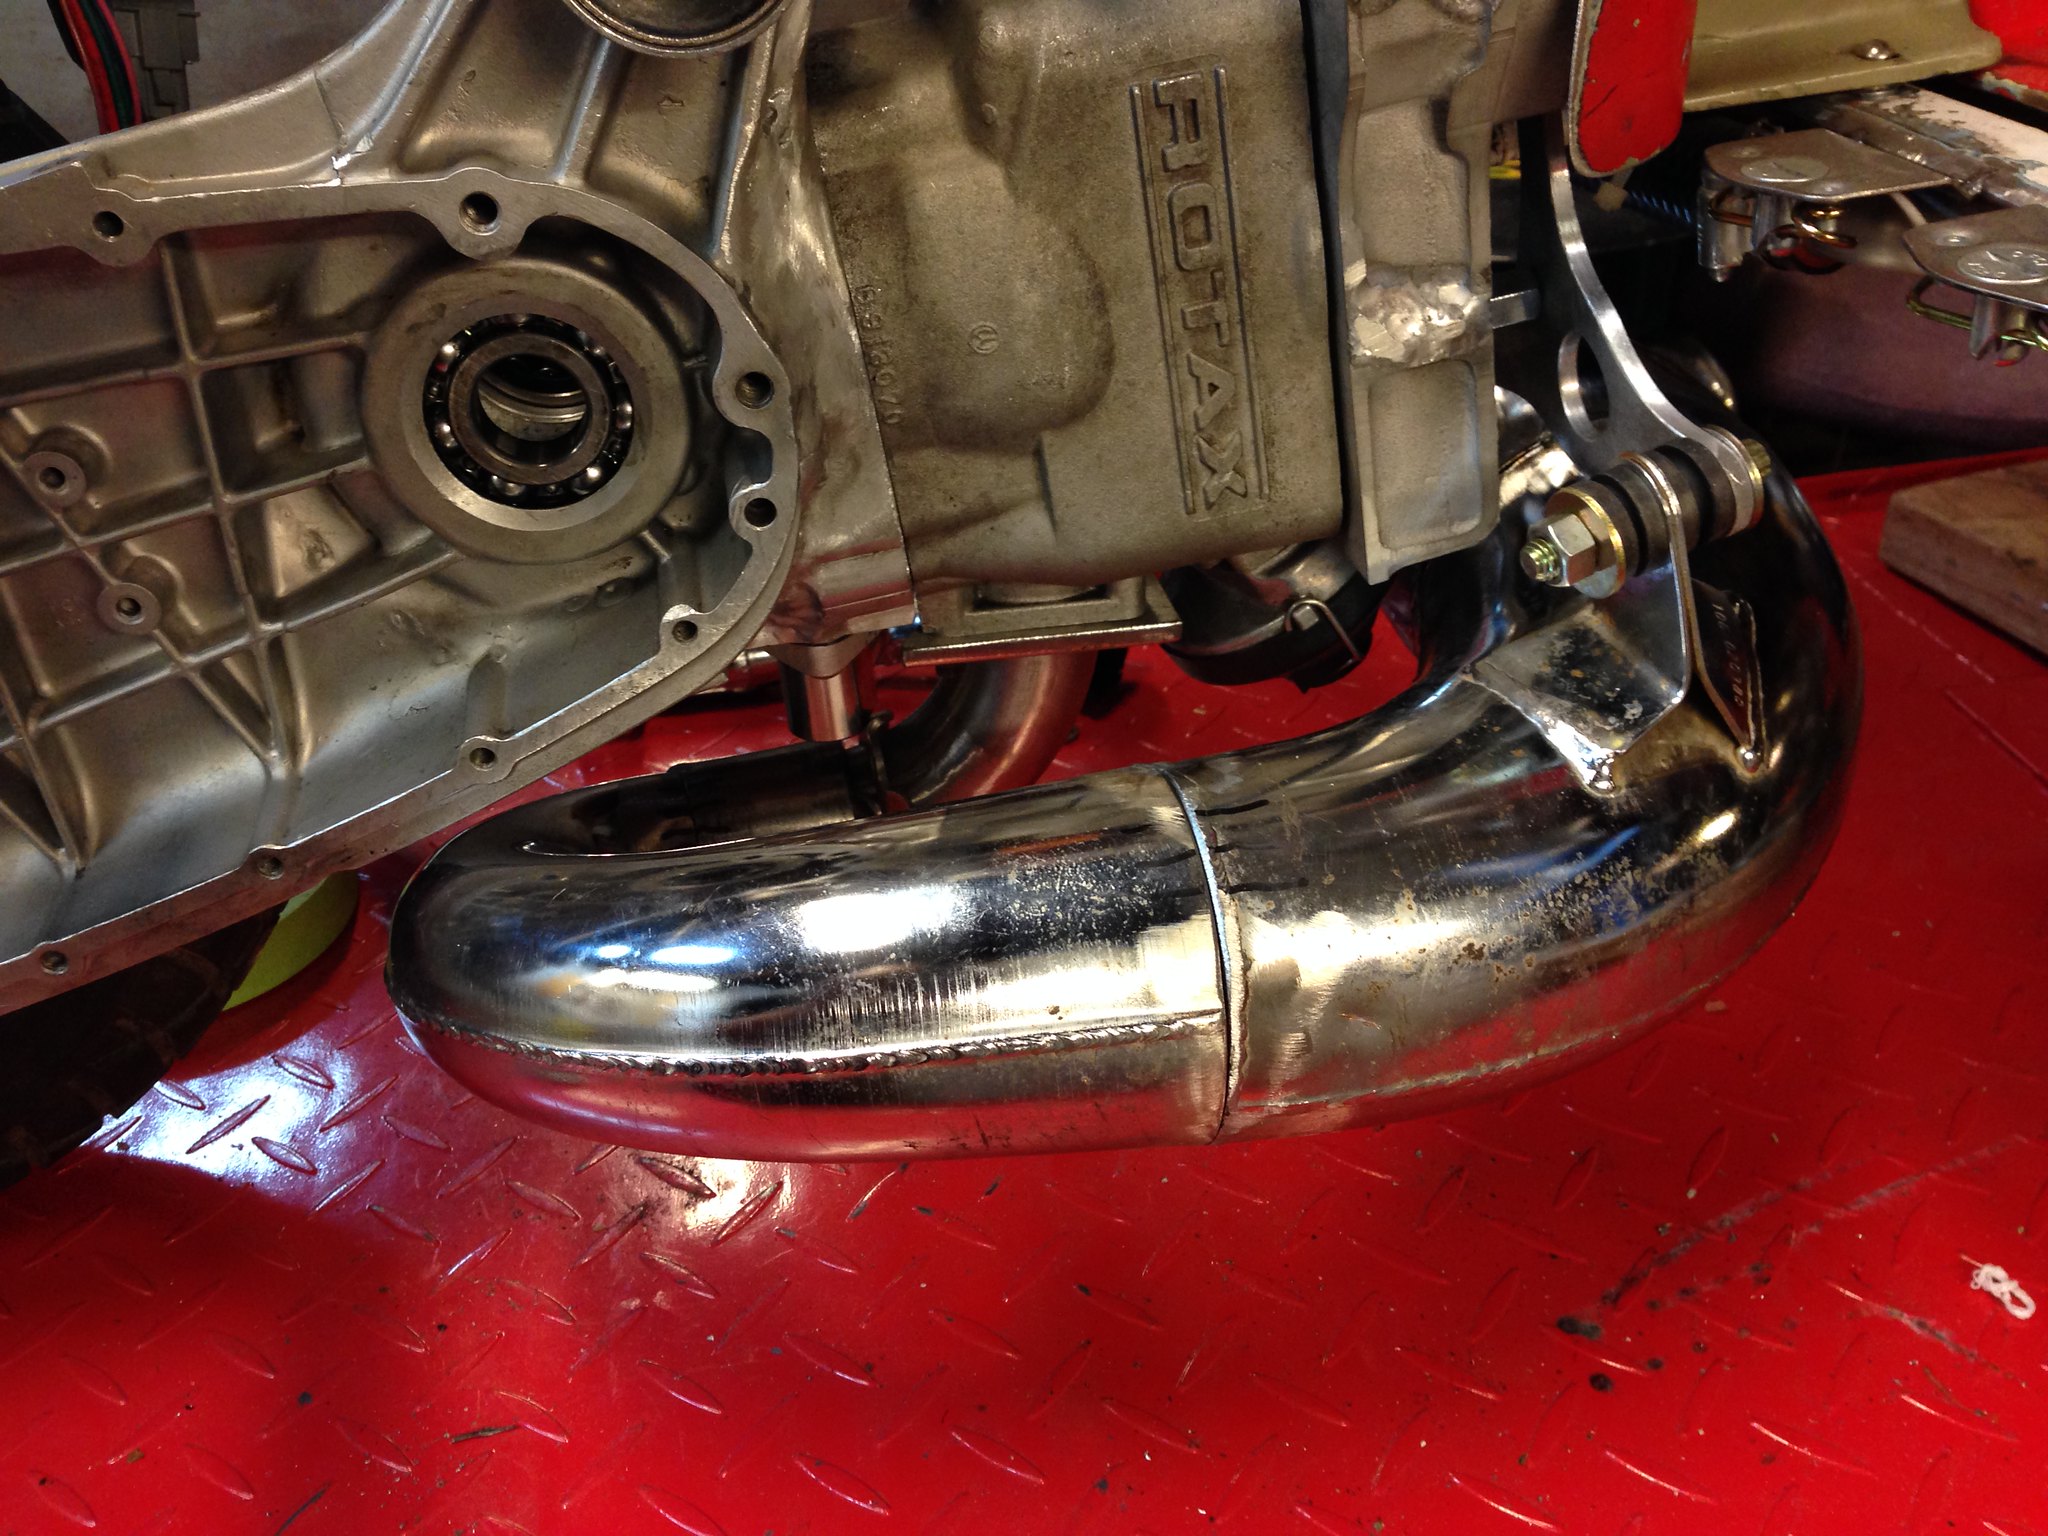
I fabricated an aluminum bracket that will attach to the head bolts and support the first section of the pipe.
 Rotax Lamby build-131
 by
PotvinV8, on Flickr
 Rotax Lamby build-132
 by
PotvinV8, on Flickr