
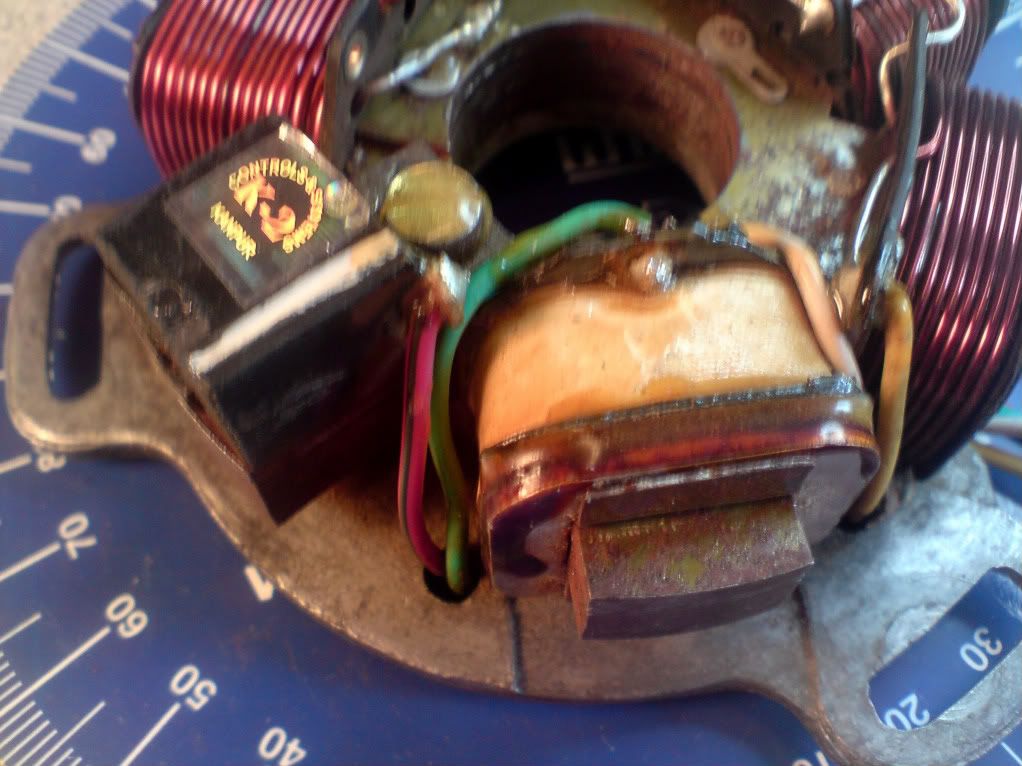
This stator was sent to me so I could take a look and see why it failed & to give some feedback....So I thought I would show how to take it apart and and what was wrong with it on this forum... The lighting coil only reads about 80 Ohms impedence...Very low...the outside of the LT coil is discoloured showing that its overheated....and needs replacing
First bend back the laminates that retain the Lt coil and lighting coil to the right of the LT coil...
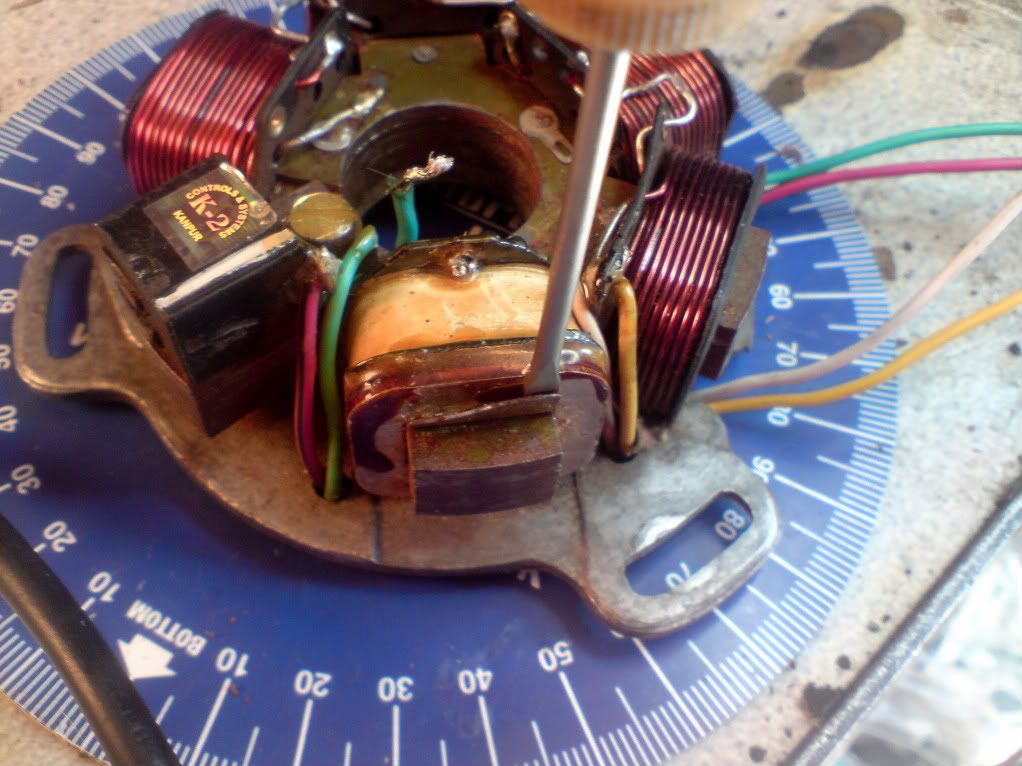
Then flatten as best as is possible so that the LT coil can slide off...These can be a very tight fit on older rusty stators like this one and this one is no exception....

Next cut short the wires to be desoldered, as it makes their removal easier and requires less heat from the soldering iron..The two pictures below shows the bobbin ready for removal with the lighting moved slightly to make it possible...
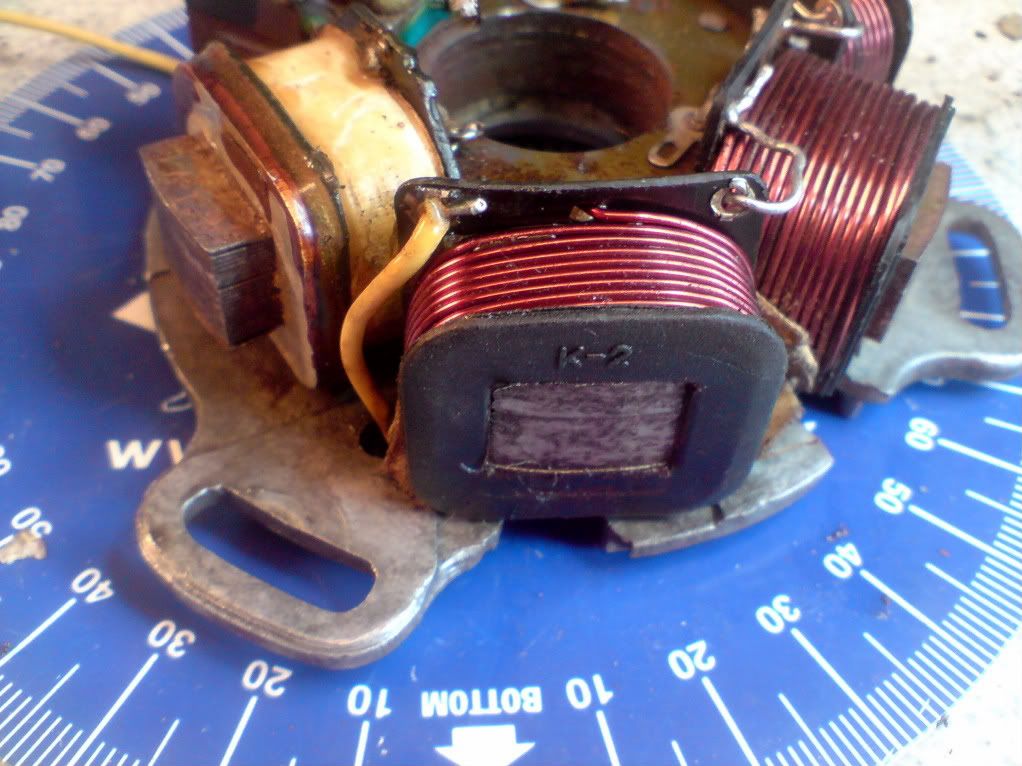
 In this picture the pick-up (green wire) has been removed (un-soldered) so that the rivet can be checked and tightened if needed, prior to replacing the LT bobbin...Â
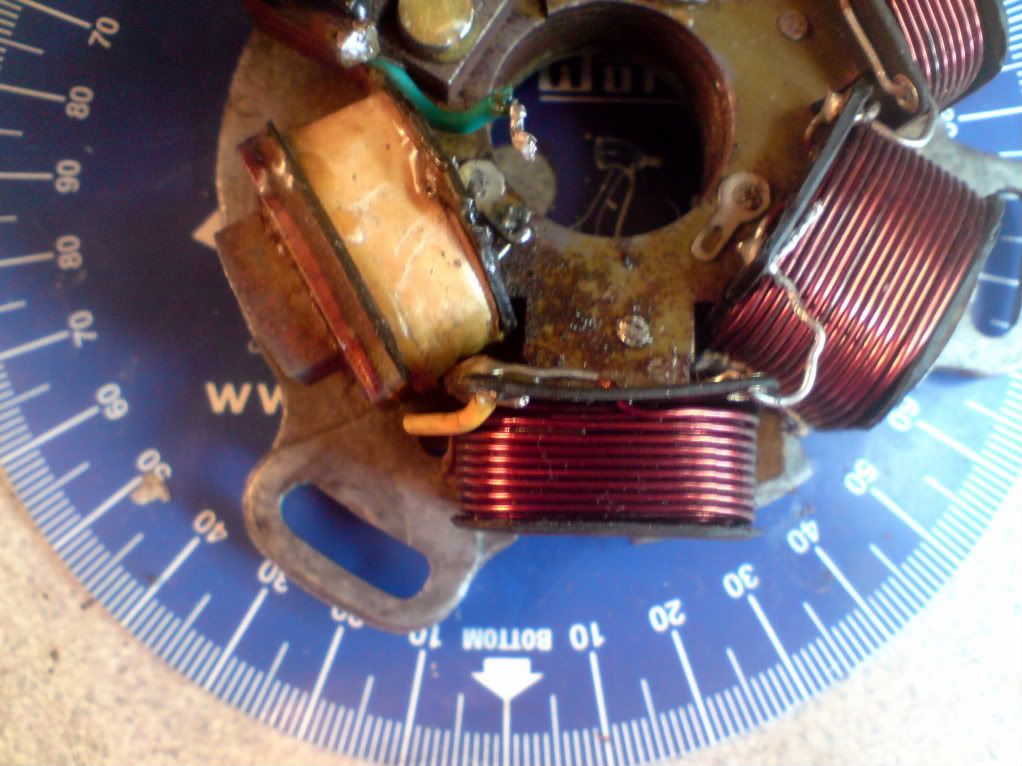
with the bobbin removed this gives a chance to find out why it failed and where...and also to show how its put together.....the picture below is of the LT coil (which can be seen top left) with the binding tape removed and the top tail pulled off the bobbin.... showing how the thinner wire is soldered to it....This connection sometimes fails....But not this time, and the coils of wire that are exposed are in good condition...
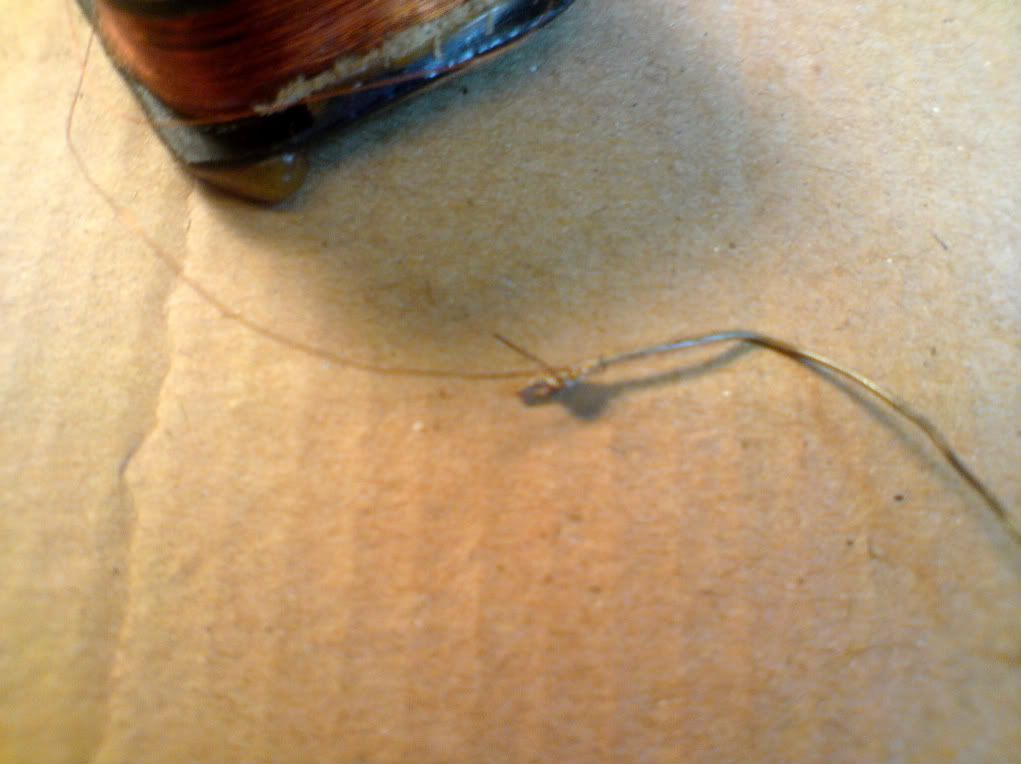
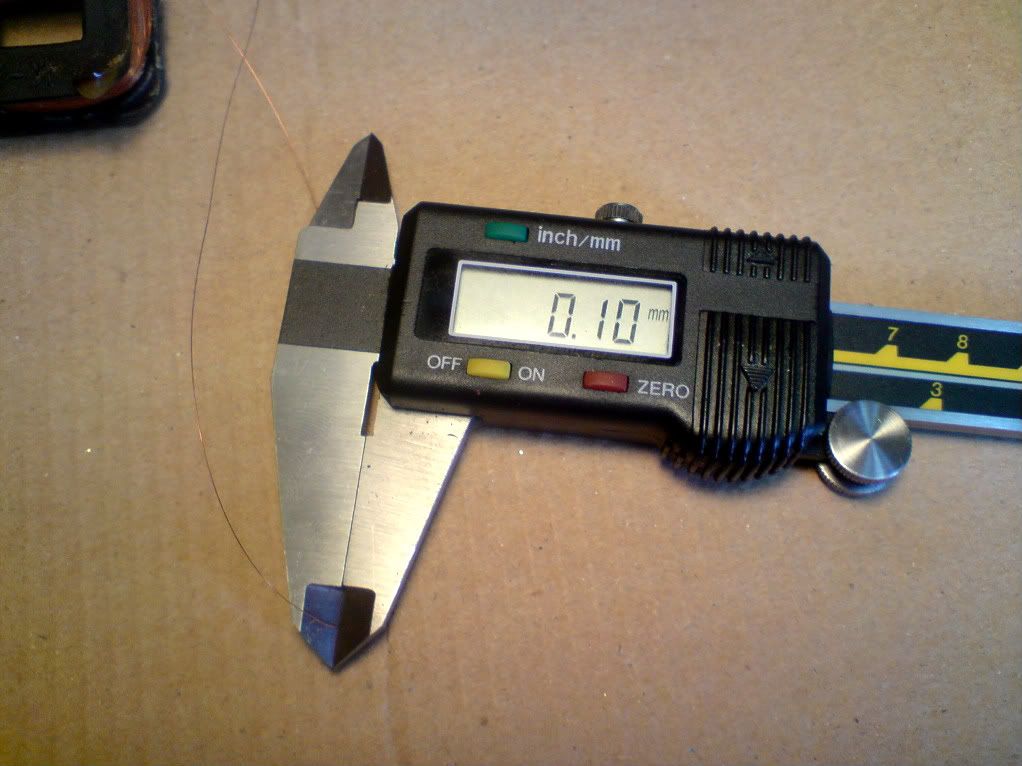
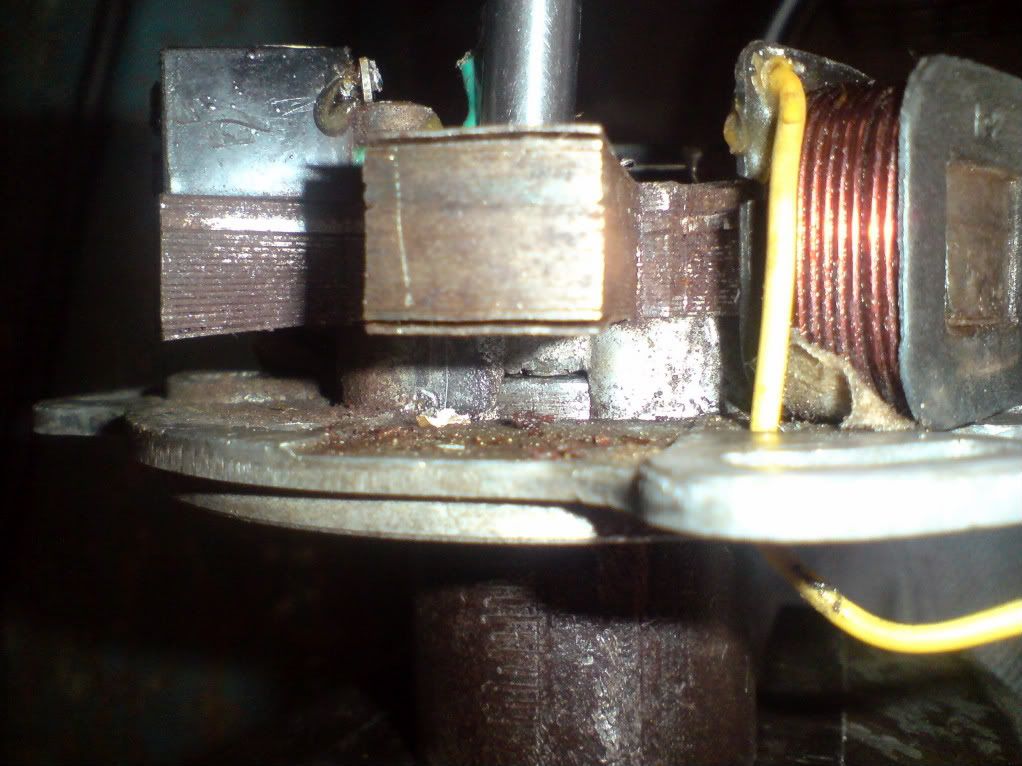
With the bobbin unwound the Inner tail is exposed, the heat here has burnt the binding tape and also made the bobbin itself brittle and burnt...The enamal on the coils of wire had failed to insulate the coils, and were shorting out for over two thirds of the bobbin (the lower portions of the windings)... This is what has caused this stator to fail....This is a common fault on a stator with an insoficient earth (either at the stator earth tag or engine to frame and/or CDI to frame) and normally over heats the LT coil as the coils short circuit.... (Current will take the path of least resistance)....as the coil breaks down its internal resistance drops between the shorted coils and the damage accelerates....till the coil fails completly....sometimes the tails become de-soldered (Open circuit) by the heat generated but not this time....The next picture shows just how thin the wire is 0.1mm... sometimes the wire is thinner than this I have seen 0.08mm used...Â
Before fitting the new LT coil, The earth tag rivet is tightened for the LT coil & pickup...this one wasnt loose but this will ensure it remains tight... the stator is held by a piece of modified steel to suit and prevent damage to the soft alloy....Only the rivets are impacted with the punch...
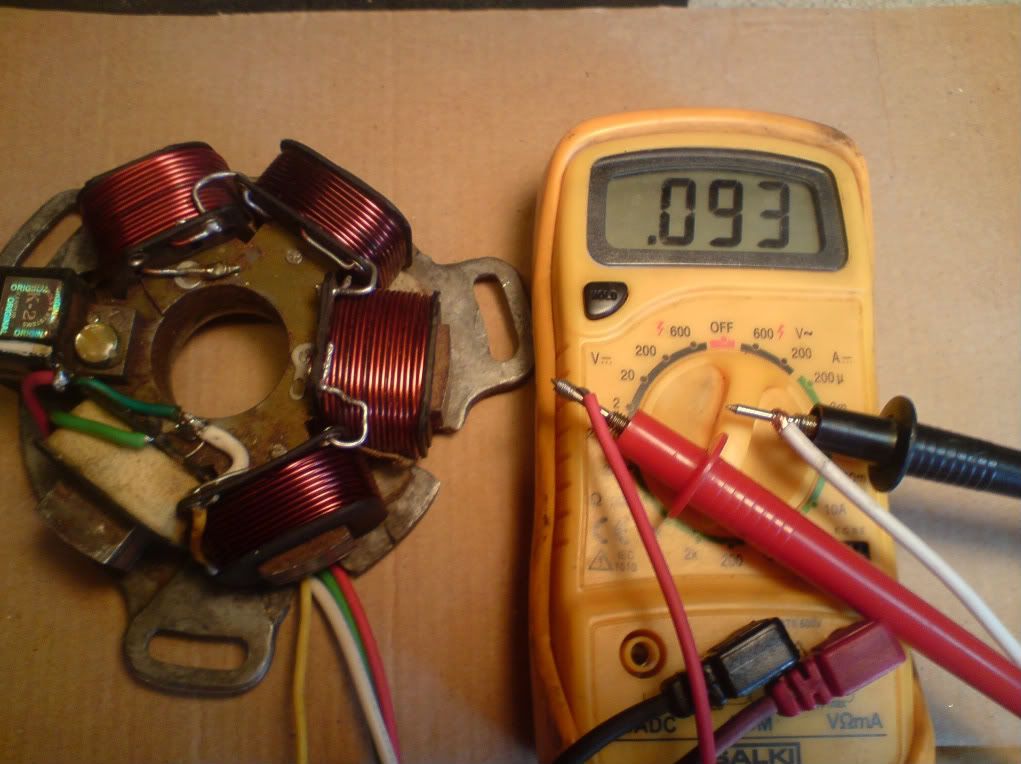
After reassembly the impedence of pickup & LT charge coil are checked with a multimeter...the readings are about right for an Indian setup....Italian electronic stators had higher impedence on both pickup and charge coil...
Charge coil...
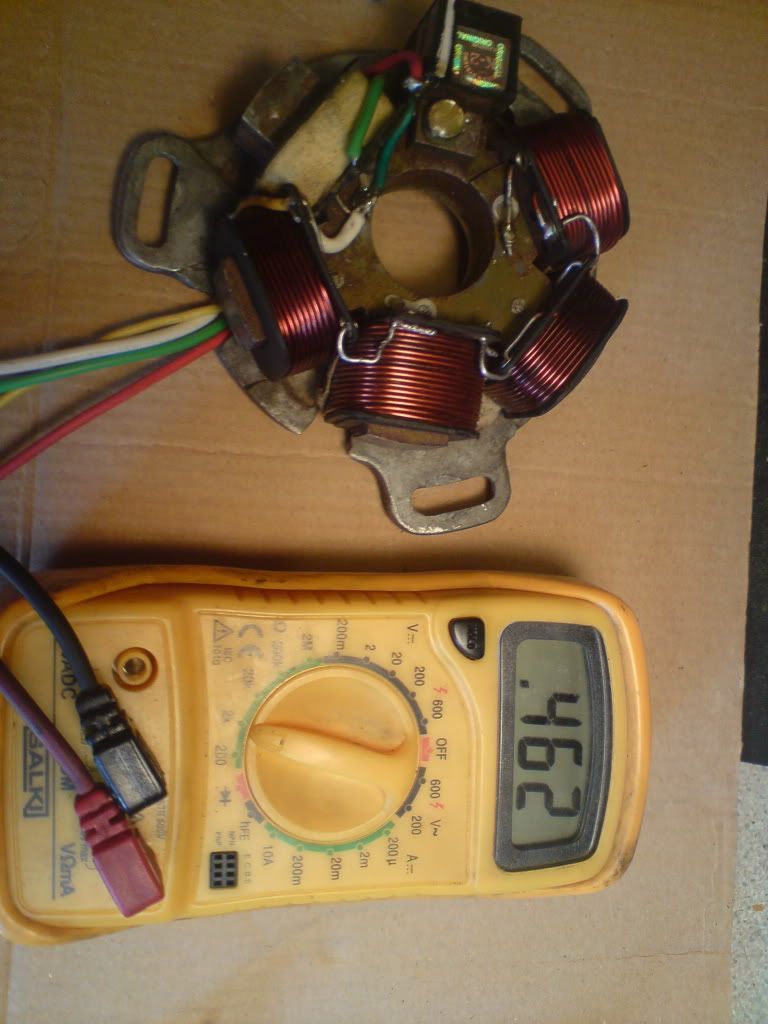
Pickup....
Hope this is of some help and explains a little to some...