Page 2 of 2
Re: Welded up toolbox door pictures
Posted: Wed Feb 25, 2015 8:03 pm
by daniel whiteley
just cut around the edge with an airsaw but dont catch the lip on the loop what the door sits in , then slowly grind away the weld around the lip ,if you do it carefully you wont need to do much repair work with filler
Re: Welded up toolbox door pictures
Posted: Wed Feb 25, 2015 9:32 pm
by B-Race Tuning
anyone worth their salt in metalworking could remove with minimal/ nil damage inside an hour for you. Simon.
Re: Welded up toolbox door pictures
Posted: Wed Feb 25, 2015 9:57 pm
by lambretta007
I will attempt myself this weekend but very slowly as I don't want to damage any part except the door I know will have to be sacraficed. I have been talking about it for ages so time for me to start! I will post progress shots.....if it doesn't look like a dogs dinner! Tools on hand are a reciprocating saw, Jigsaw, grinder, file and not forgetting the compulsory hammer

Any suggestions for decent metal workers in the valleys of Wales/Cardiff for plan B?
Re: Welded up toolbox door pictures
Posted: Wed Feb 25, 2015 10:05 pm
by Mal*1
I'm no expert, but wouldn't it be worth drilling small holes then cutting between them. Once out gring down carefully??
Re: Welded up toolbox door pictures
Posted: Wed Feb 25, 2015 10:32 pm
by lambretta007
I like your thinking with the drilling of the holes as this can be done from the rear of toolbox door which would remove the chance of cutting into the loop when cutting between them from the front. I am not sure if my dremel will be man enough to grind away the remaining weld but I will try if not I might have to invest in a new tool for the shed;-)
Re: Welded up toolbox door pictures
Posted: Wed Feb 25, 2015 10:44 pm
by B-Race Tuning
just use a 115mm angle grinder and a couple of 1mm slitting discs. cut through the welds only, go slow, and make sure disc is ALWAYS dragging not pushing away from you. Go slow and little at a time and you'll see when you cut the weld without touching the frame. take extra time and use dremmell discs in the corners and you could save toolbox door too, although no benefit as they're cheap and yours doesn't have hinge, you could show off a bit

S
Re: Welded up toolbox door pictures
Posted: Wed Feb 25, 2015 10:45 pm
by B-Race Tuning
On drilling holes, I wouldn't have thought you'd benefit any as you still have to grind/ cut weld.S
Re: Welded up toolbox door pictures
Posted: Sun Mar 01, 2015 4:46 pm
by lambretta007
I bought some cutting discs and attempted to cut the weld away this morning and it didn't go as hoped. No effort was needed to cut the metal but I don't think I will ever get it back to its original look with the curve around the opening! Going to have to put up with the welded up door unless I can find a cheap loop.
Cheers for the advice
Re: Welded up toolbox door pictures
Posted: Sun Mar 08, 2015 5:34 pm
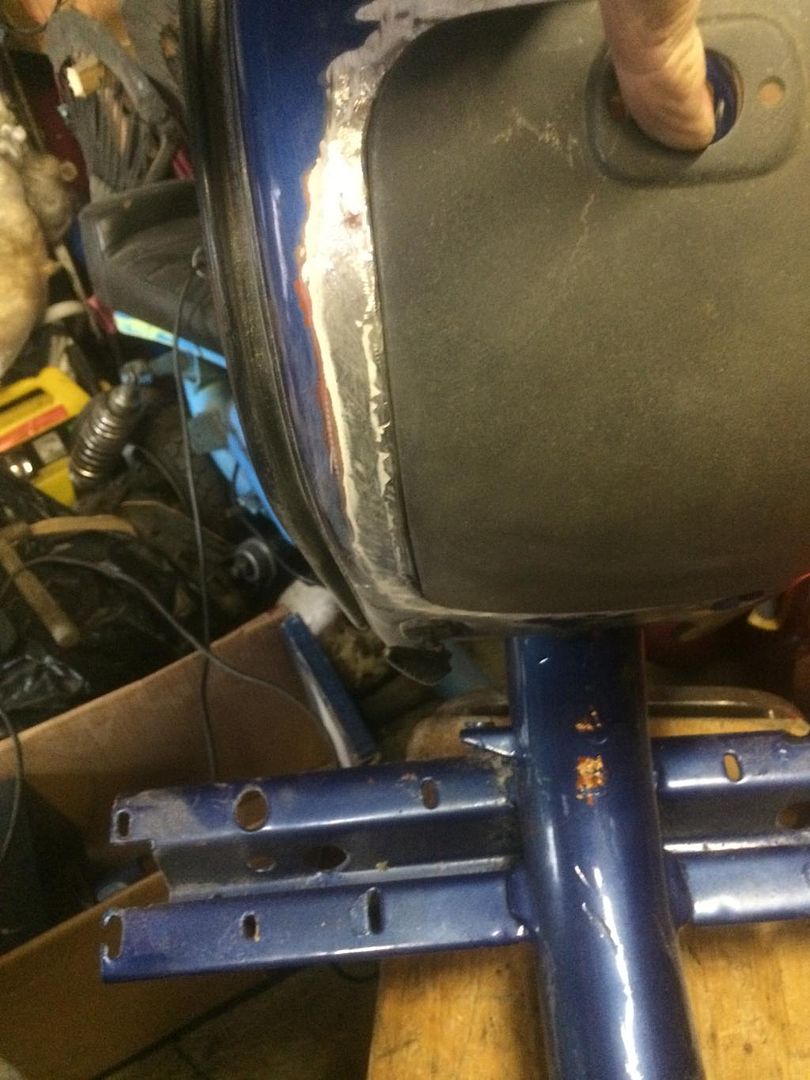
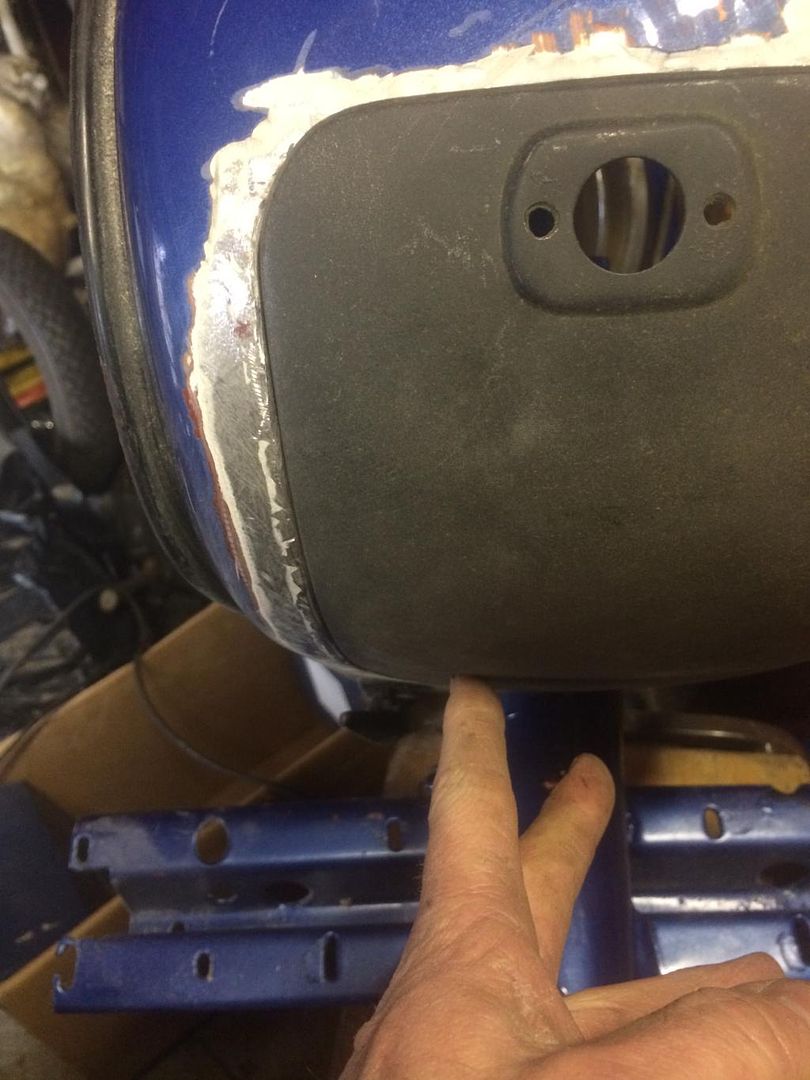
by lambretta007
Thought I would have a second attempt at the door and it went better this time....I have used a S1 door for the photo but am going to purchase a GP door to do the final grinding with my dremel. The side you can't see of the door is going to need some more work as I think a little too much has been cut away but will see when I get the correct door.
Does anyone know the difference between S1, S3 & GP toolbox doors?