
Rotax 300 builld

-
bryansmudge
- registered user
- Posts: 45
- Joined: Mon May 17, 2010 2:21 pm
- Contact:
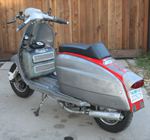
Why don't you louvre the sides of the toolbox and the bottom too, the open door would probably turn out to be a real pain in the shins whilst riding if left open all the time. Unless you completely remove the door of course. Keep this up mate lovin it
But you could just print out each page of this post and bind it yourself!DigDug wrote:You should put this thread in a book.
If you do I'd like to reserve my copy now!
The thought's crossed my mind but I figured it might be a bit too "far out" for the average scooter person.
Not sure about final paintwork. Gonna come down to what I have in my cabinet. lol
As soon as all the fab work is complete, I'll get the tins in primer and have a go at it then. Should be able to get my head 'round it once it's all the same color.
I think the louver idea is the best way to go regarding the glovebox, leaving the door open just seems like a lazy afterthought. Oh and I just found out that I have a buddy with a louver press so that will help... LOL solves that dilemna!
Thanks for all the positive comments, back to the workshop!!!
-
Adam_Winstone
- registered user
- Posts: 1693
- Joined: Tue Jan 31, 2012 8:54 pm
- Main scooter: Lambretta GP
- Contact:
I've not looked at this for a long time (perhaps when you were considering engine config options) at it is coming on a treat 
Adam
Adam
God I hate you, no one should be this talented 
I'm absoutley amazed by your skill and workmanship. keep the photo's and updates coming.
I'm absoutley amazed by your skill and workmanship. keep the photo's and updates coming.
-
DigDug

- registered user
- Posts: 788
- Joined: Wed May 02, 2012 1:00 pm
- Main scooter: Lambretta
- Location: Stroud
- Contact:
They can carry on reading "Scooterist".RManson wrote:But you could just print out each page of this post and bind it yourself!DigDug wrote:You should put this thread in a book.
If you do I'd like to reserve my copy now!
The thought's crossed my mind but I figured it might be a bit too "far out" for the average scooter person.
Did you have to do that?
-
dapper
- registered user
- Posts: 930
- Joined: Tue Jan 27, 2009 5:30 pm
- Main scooter: The Biriani Bullet
- Location: Brighton (well Hove actually)
- Contact:
Never normally look at the WC thread, but this thread gave me an involuntary emission in me under kecks 
 Fantastic engineering and problem solving skills. Can't wait for next instalment
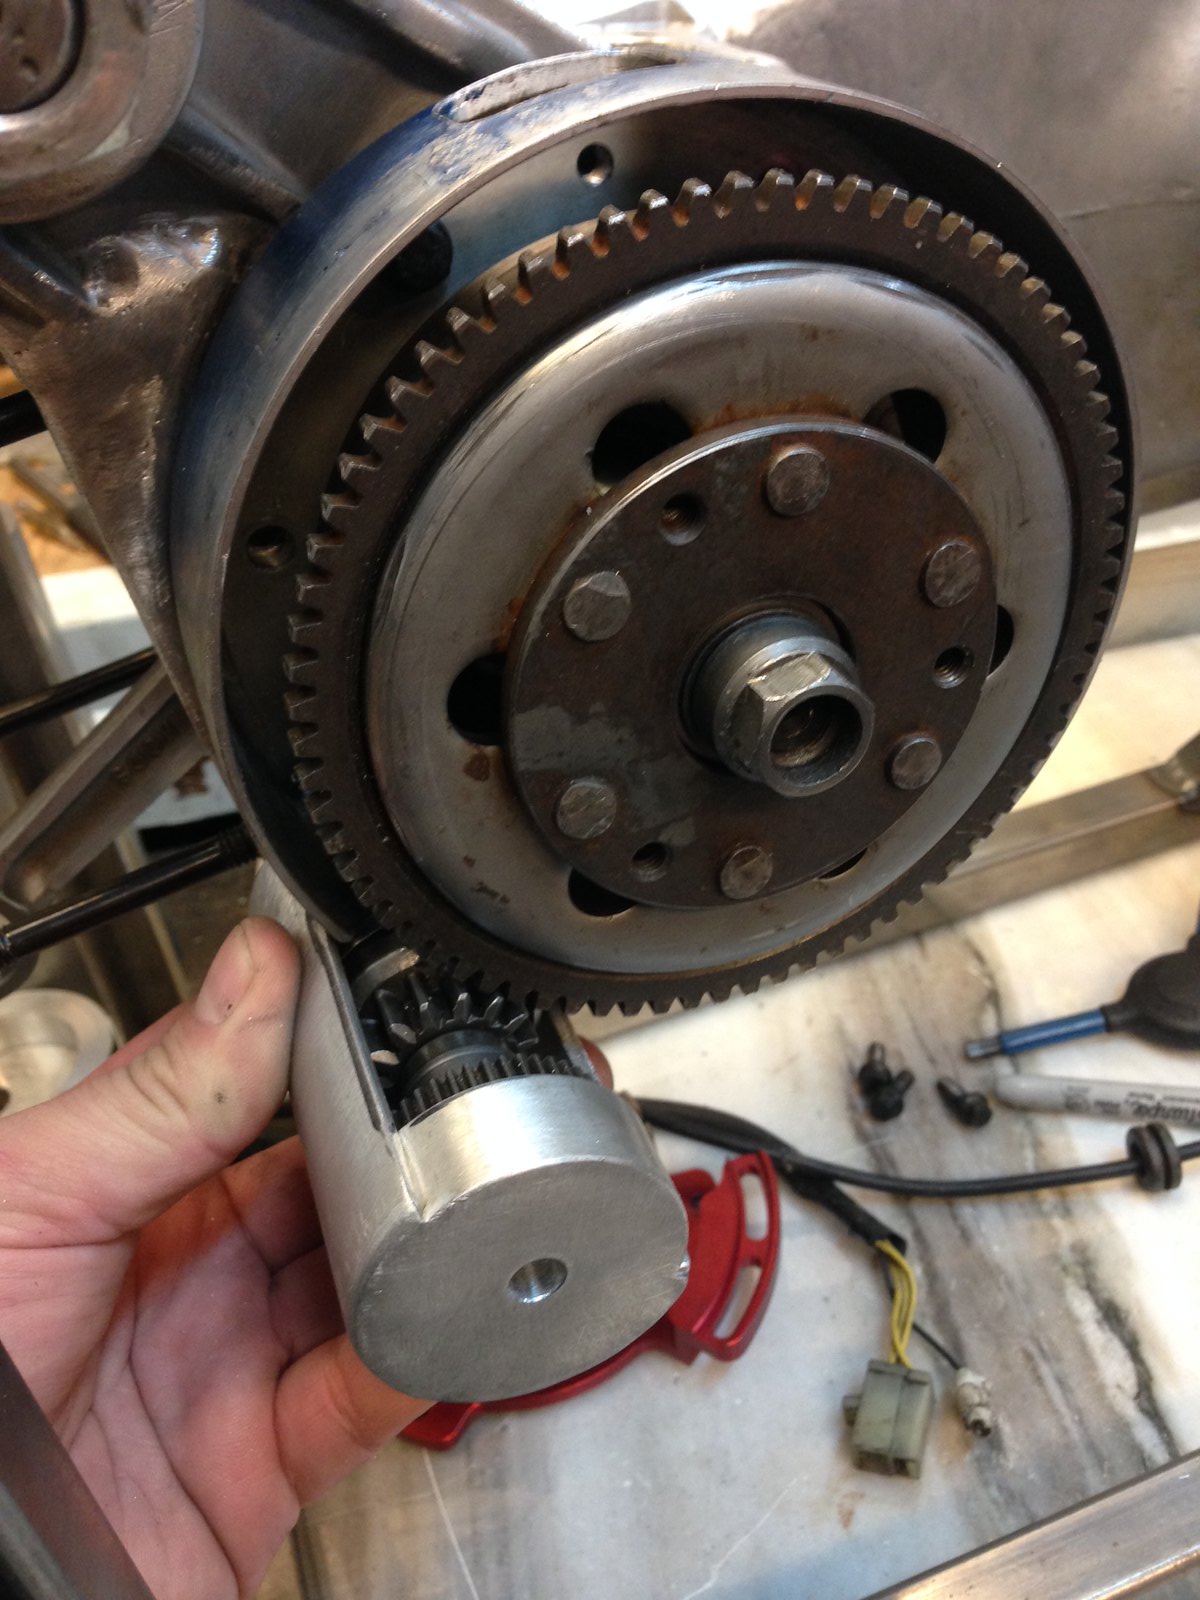
Compact Toolbox Flywheel Holder
Not a lot going on at the moment, but been figuring out a coupla things....
 Rotax Lamby build-106 by PotvinV8, on Flickr
Been flipping back and forth whether or not this would work. Resigned to it not being a question of "if" but "how". Was too invested by the time I bought a starter and bendix anyways. Figured where there's a will, there's a way!
At the end of the day, it's a bit silly but like most of this project, it's been an exercise in engineering more than a simple build.
Rotax Lamby build-106 by PotvinV8, on FlickrBeen flipping back and forth whether or not this would work. Resigned to it not being a question of "if" but "how". Was too invested by the time I bought a starter and bendix anyways. Figured where there's a will, there's a way!
At the end of the day, it's a bit silly but like most of this project, it's been an exercise in engineering more than a simple build.
Last edited by RManson on Wed Aug 30, 2017 11:07 pm, edited 1 time in total.
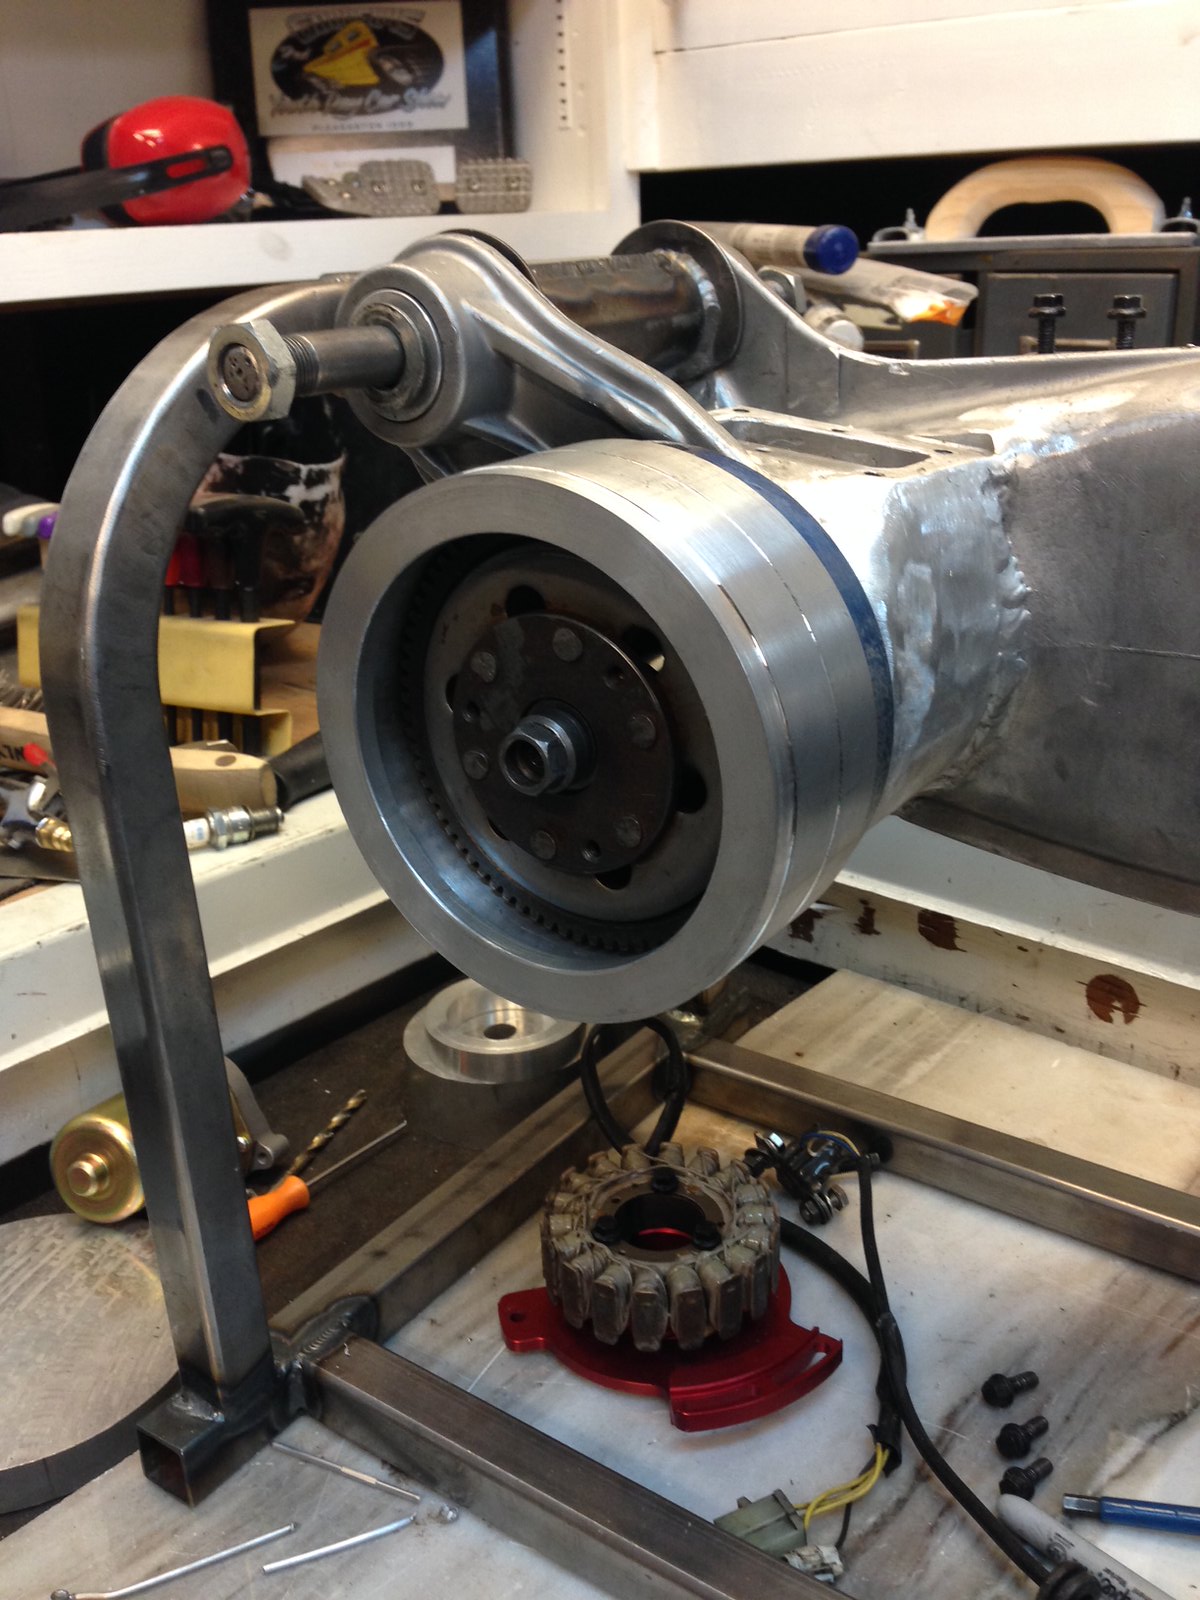
Had to extend the mag housing as well. This is half the mag cover.
 Rotax Lamby build-107 by PotvinV8, on Flickr]
A 1/2-inch aluminum plate will bolt to the front of the housing to cover the flywheel.
Funny story actually. Originally, I welded the plate to the housing shown in the photo. I then chucked it in the lathe to knock the weld down and finish it off. Once it was smooth, I had my doubts as to whether or not the weld had penetrated sufficiently. A quick whack from a mallet revealed the answer. Looks like we'll be bolting the cover on! LOL
This is RichT's GT Ignition Kit, by the way.
Rotax Lamby build-107 by PotvinV8, on Flickr]A 1/2-inch aluminum plate will bolt to the front of the housing to cover the flywheel.
Funny story actually. Originally, I welded the plate to the housing shown in the photo. I then chucked it in the lathe to knock the weld down and finish it off. Once it was smooth, I had my doubts as to whether or not the weld had penetrated sufficiently. A quick whack from a mallet revealed the answer. Looks like we'll be bolting the cover on! LOL
This is RichT's GT Ignition Kit, by the way.
Last edited by RManson on Wed Aug 30, 2017 11:08 pm, edited 1 time in total.