Rotax 300 builld

Anything related to Lambretta or Vespa Scooters fitted with LC, Motorcycle and/or Auto engines!
User avatar
RManson
registered user
Posts: 211
Joined: Fri Aug 31, 2012 4:40 am
Main scooter: Jet 200
Contact:

And just when you think things are going your way, you do something like this.

Image
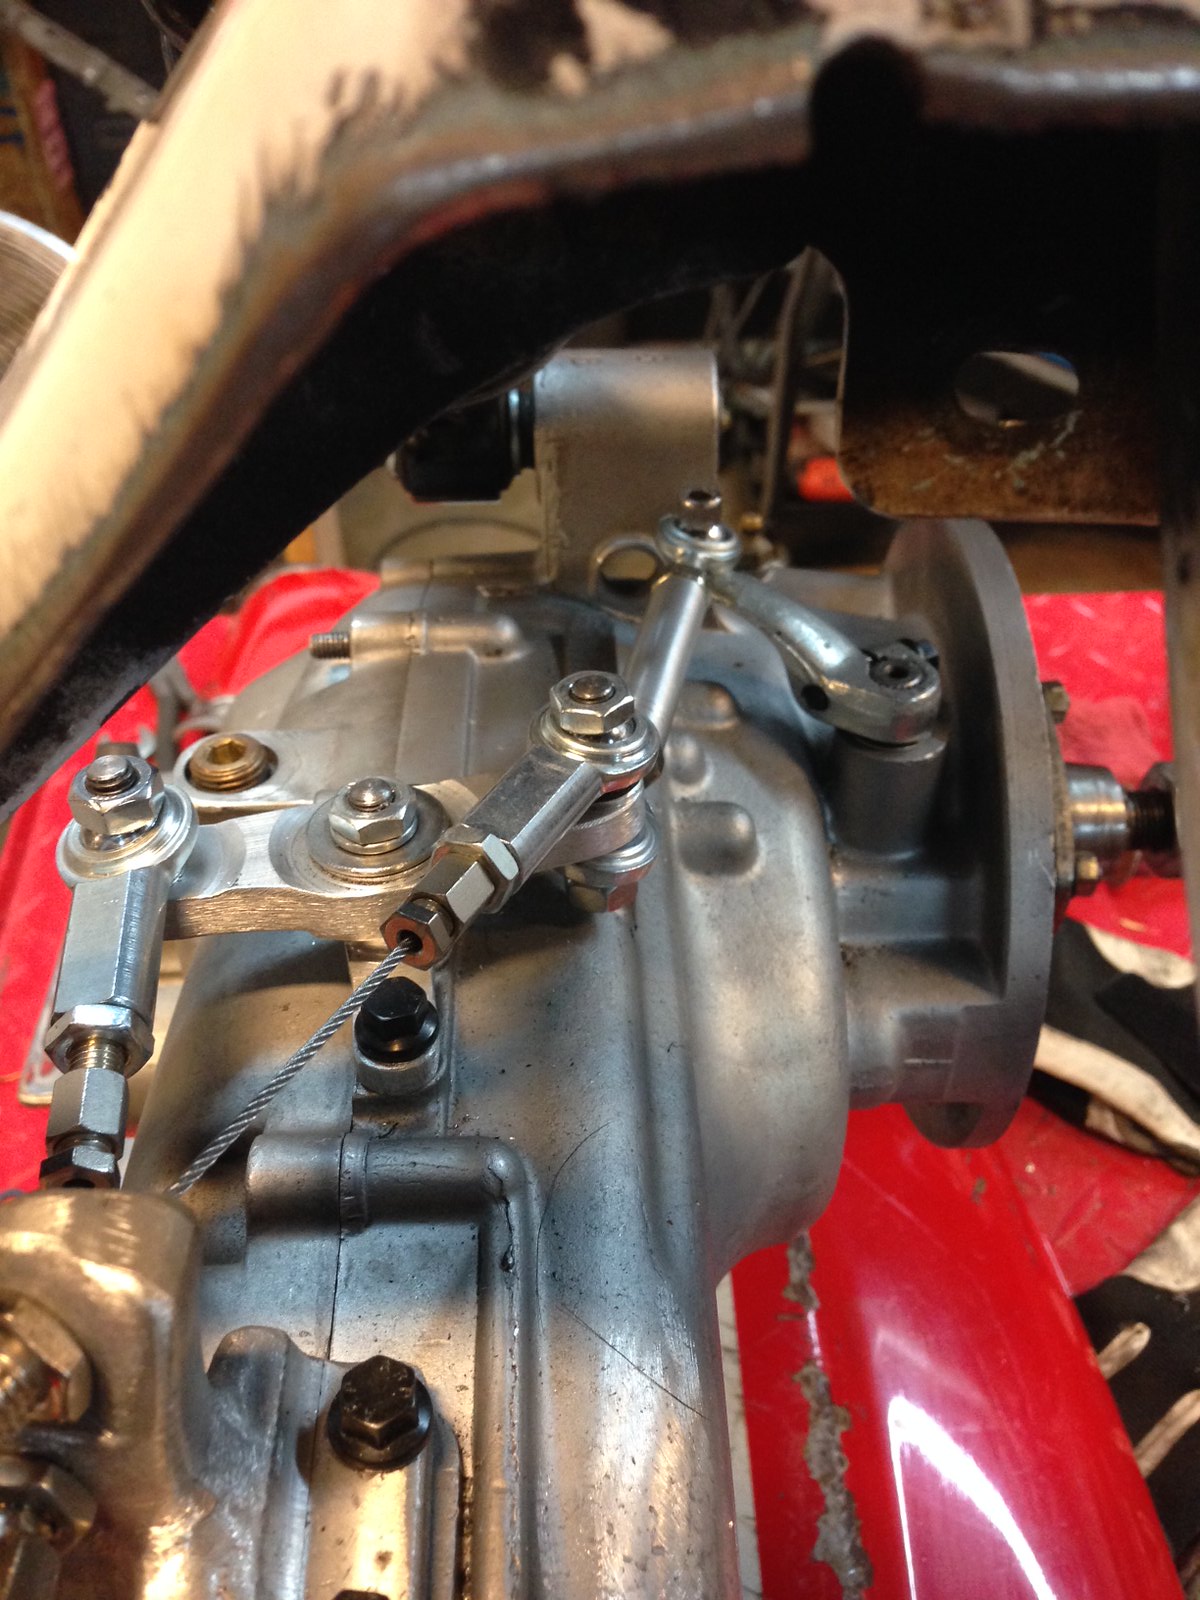
Rotax Lamby build-073 by PotvinV8, on Flickr

Image
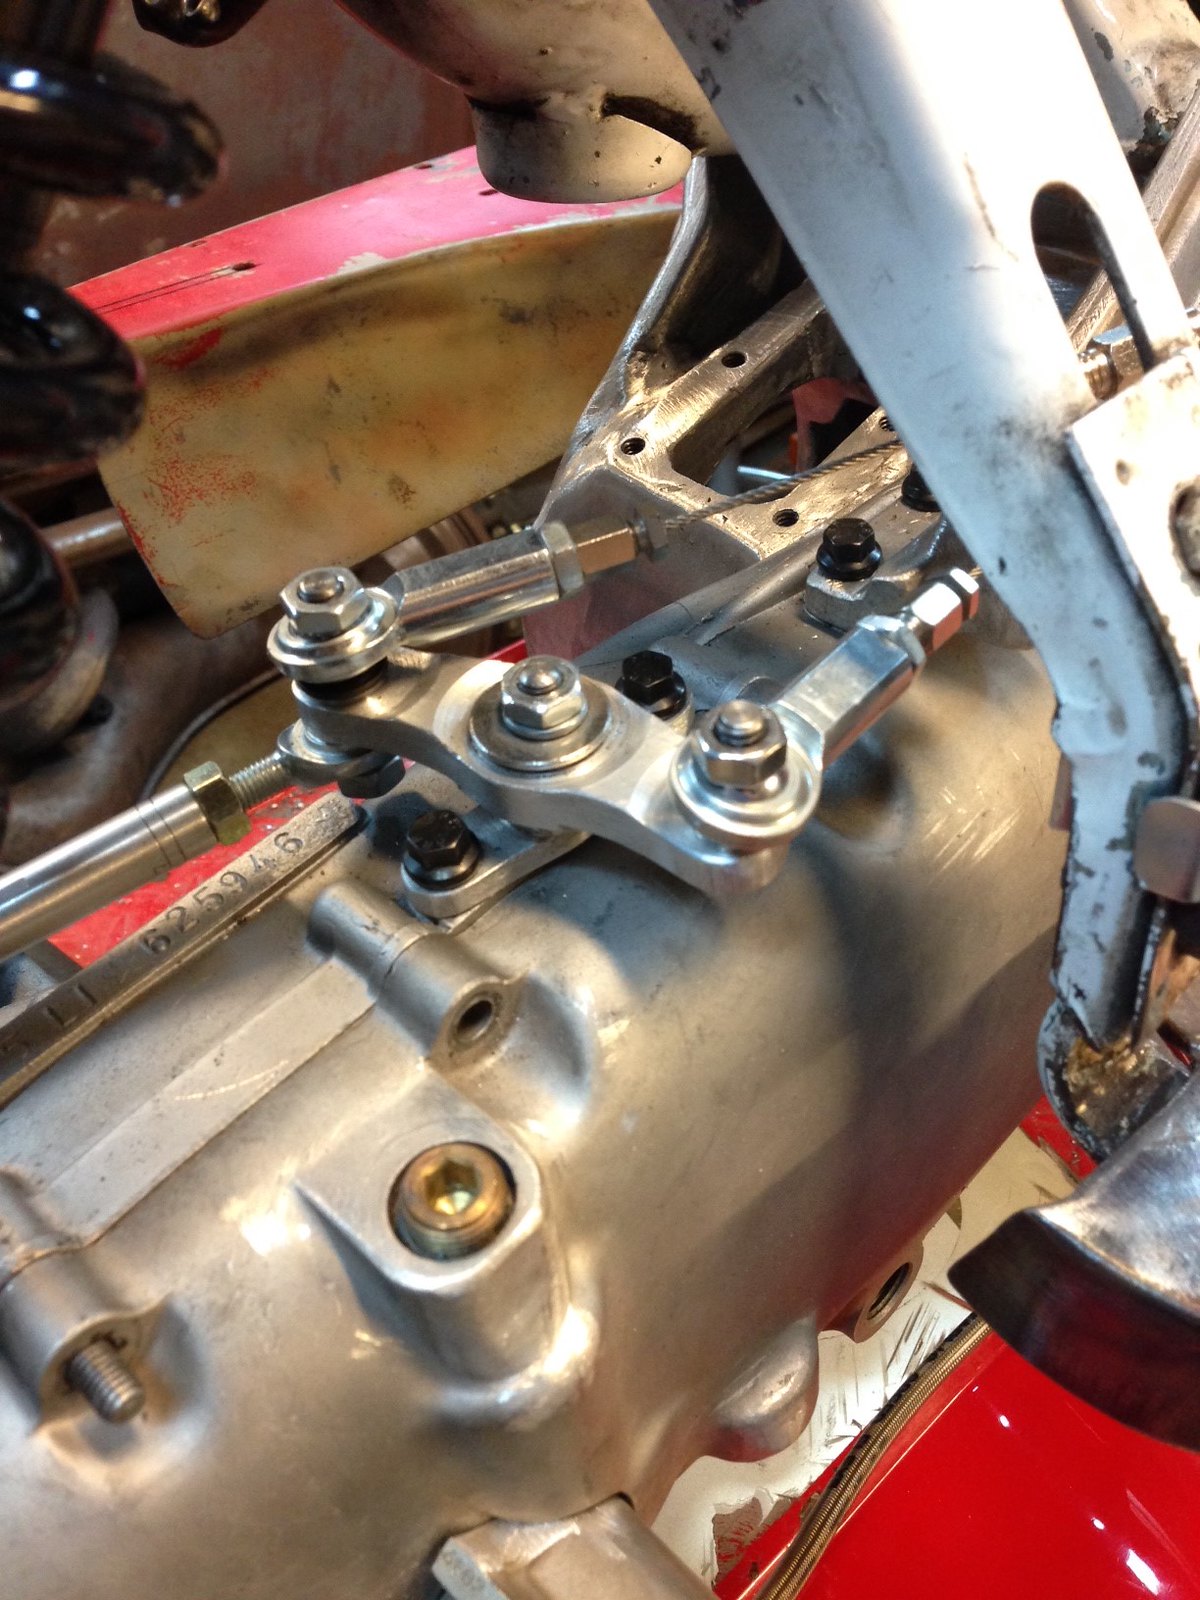
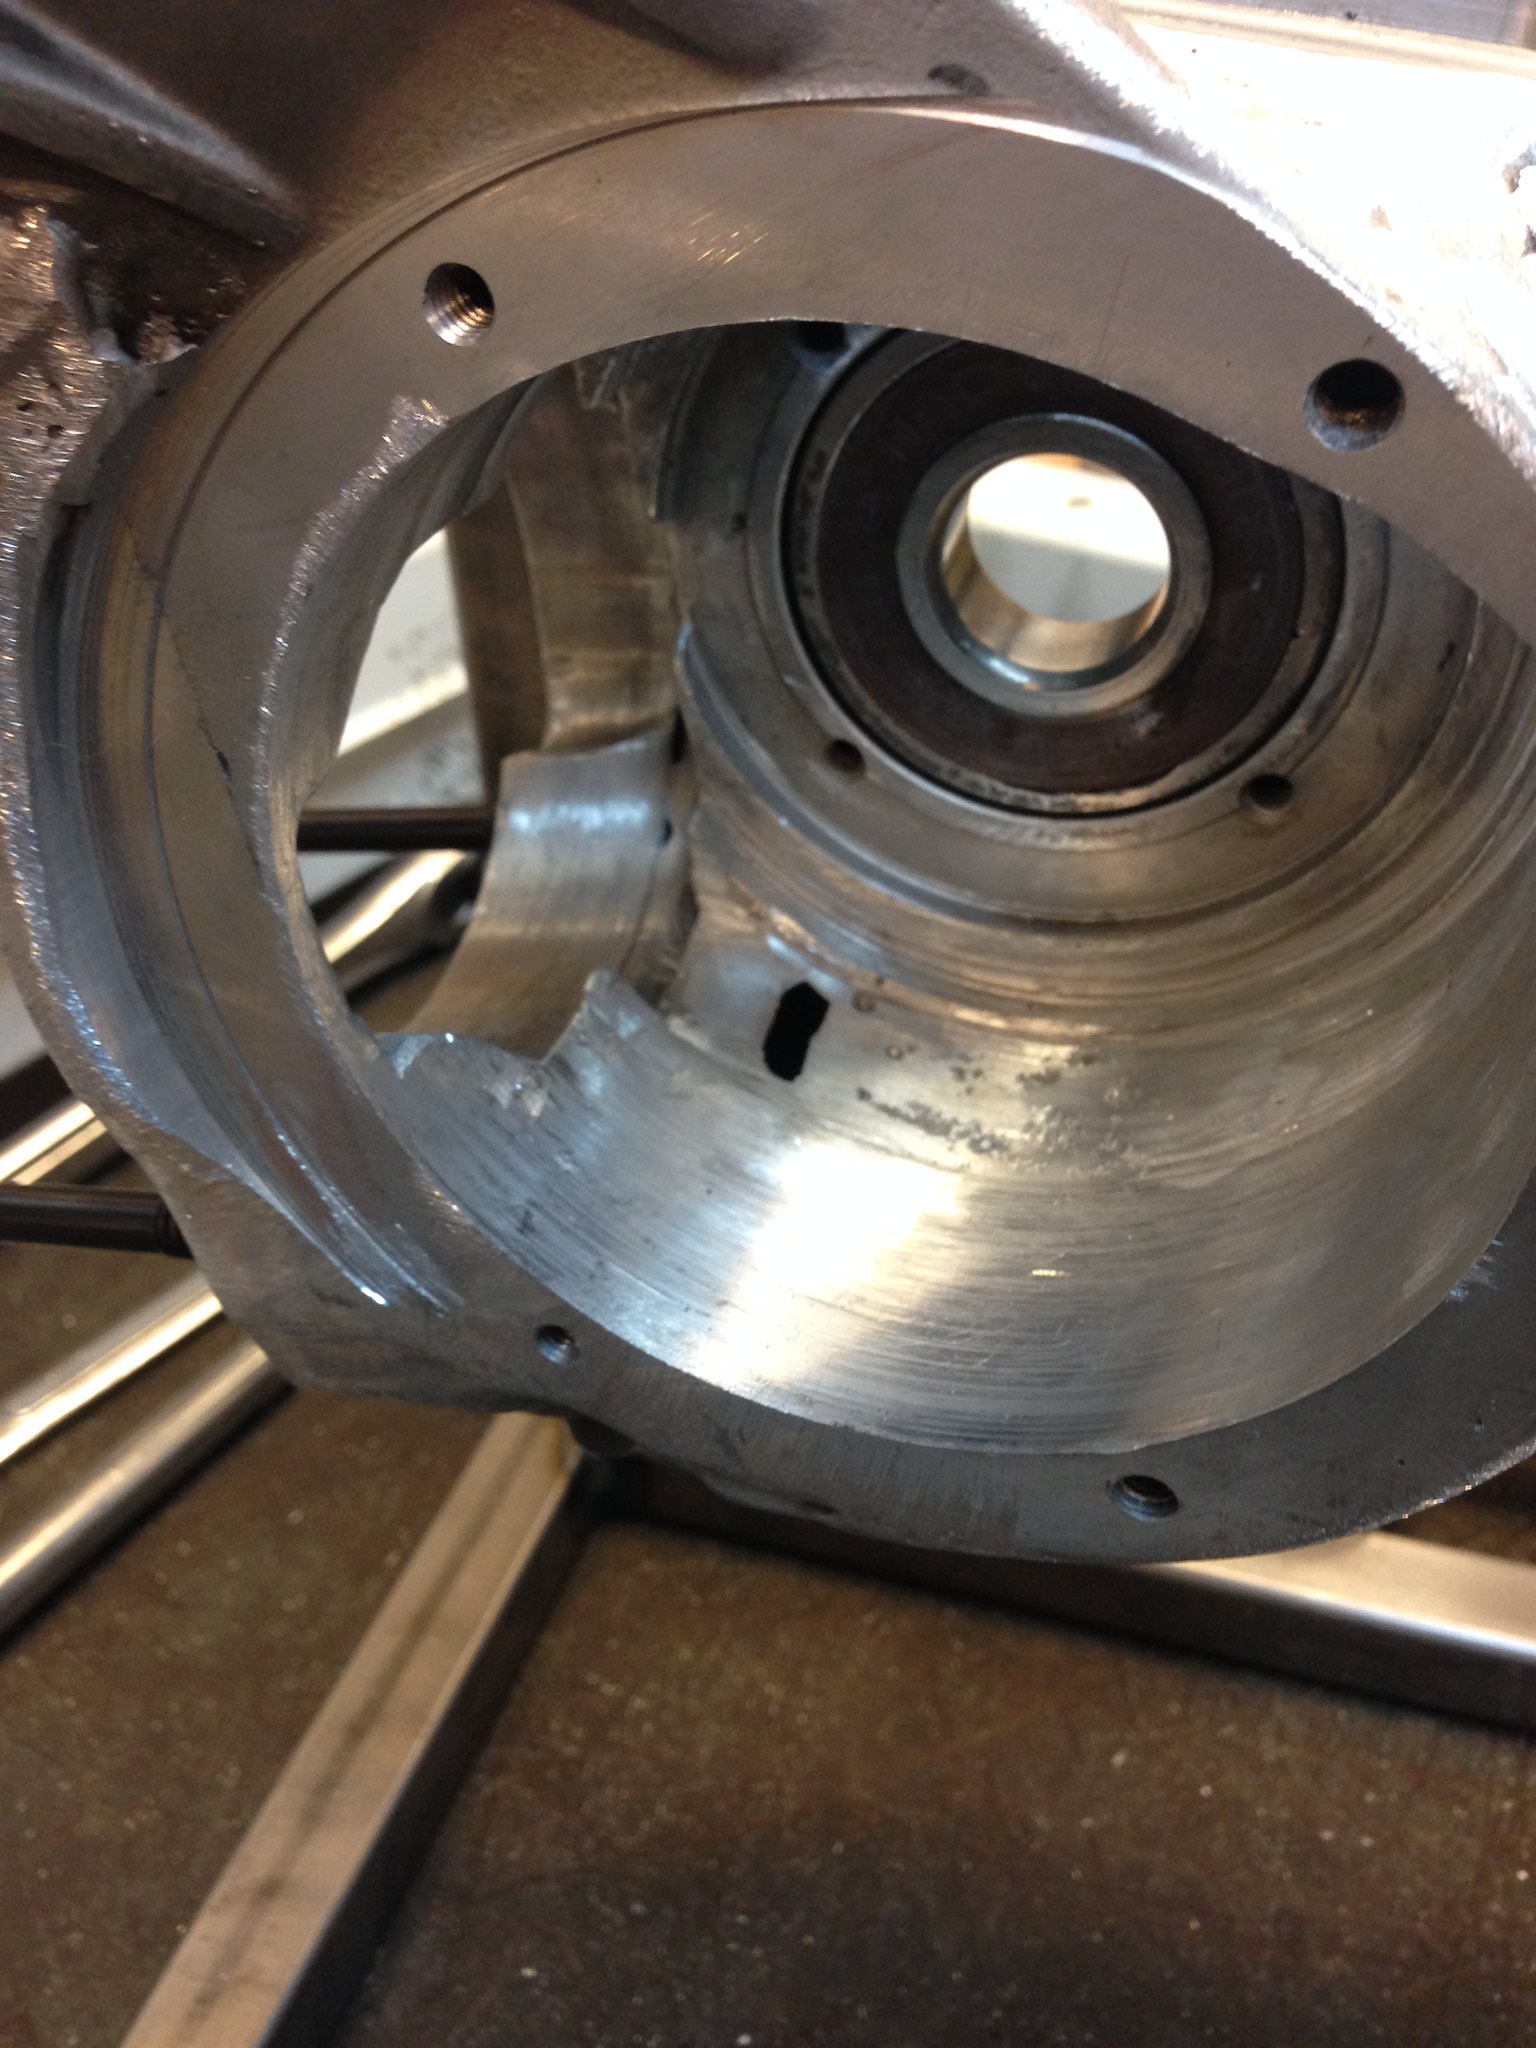
Rotax Lamby build-074 by PotvinV8, on Flickr

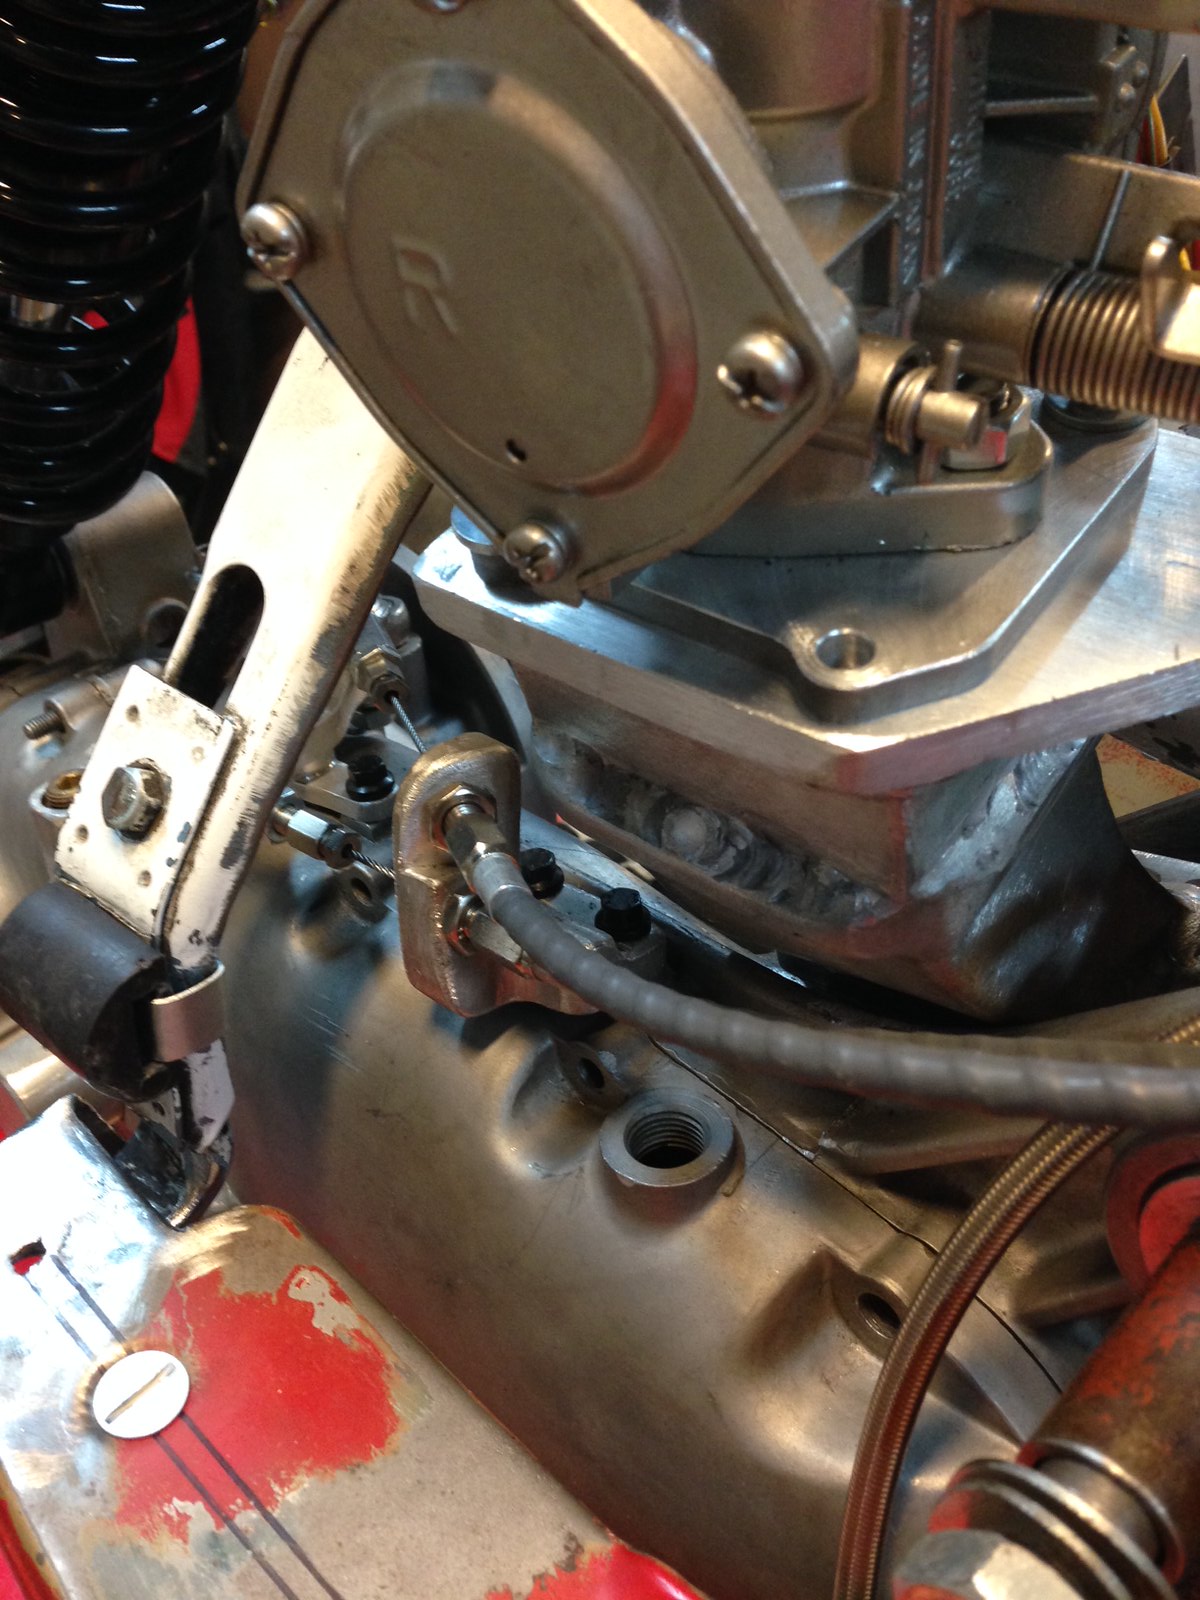
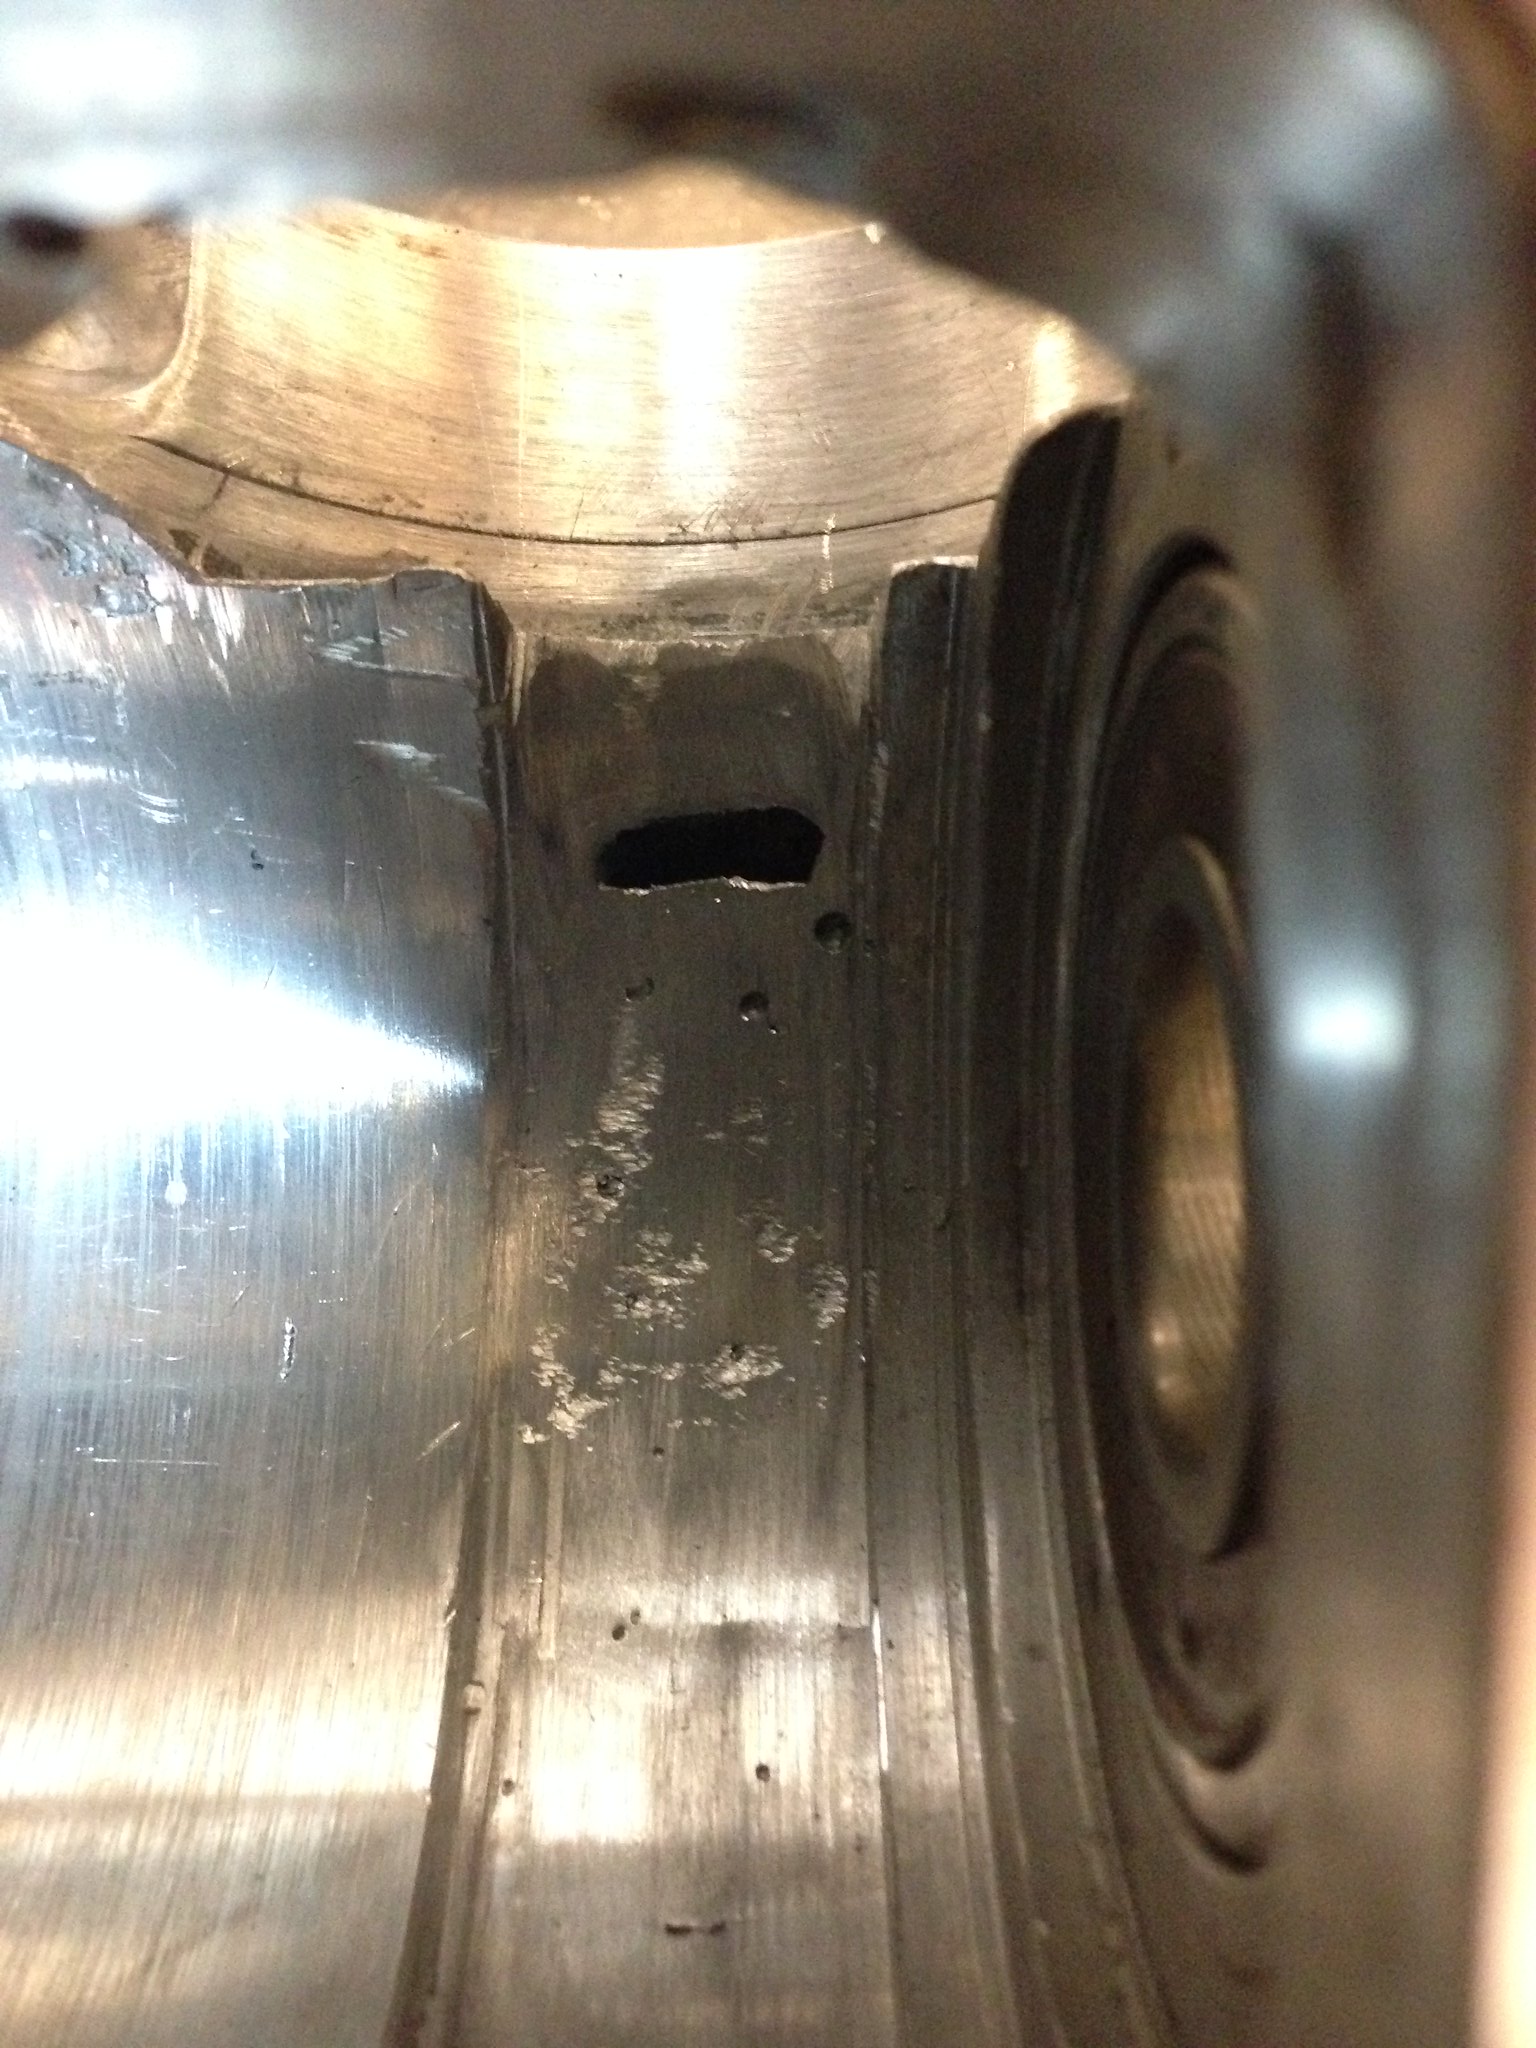
Seems I got a bit too liberal with the grinder when it came time to trim the lower portion of the crank trench the last time I fit the crank. Broke right into the new coolant passage. Chock it up to excitement I suppose, but I really just didn't want to put the crank in and out ten more times as I massaged the case so I took a bit more that I should have. What's another day spent covered in aluminum swarf?!

On another note, looks like I'm gonna need to learn how to true cranks as I bodged the Chiselspeed number a touch getting it out of the case (sorry Martin!). Big rod sticking out and all. Live and learn. Stay tuned for my "crankshaft truing thread"! lol
Last edited by RManson on Wed Aug 30, 2017 10:32 pm, edited 1 time in total.
User avatar
RManson
registered user
Posts: 211
Joined: Fri Aug 31, 2012 4:40 am
Main scooter: Jet 200
Contact:

Craig H wrote:love it and any details on start/kill switch cheers;)
I'm going to use a kit by these guys...http://www.digitalguarddawg.com/

Have one in my '68 C10 and it's bitchin'. RFID proximity sensor will yield a passive "arm" of the bike. Kill switch on the headset will act as just that (on/off of ignition, lights, etc). When the fob is out of range, the kill switch will be inactive.

Walk up, push the kill switch and kick 'er over. No need to take a key out of your pocket.
Minority
registered user
Posts: 673
Joined: Wed Feb 01, 2012 2:00 pm
Main scooter: Li230 S3
Location: Perth, Western Australia
Contact:

Nice to see this build progressing again. :)
Sorry about the "issues" :(
User avatar
Hotrodlambretta
registered user
Posts: 6
Joined: Sun Jan 16, 2011 5:54 am
Main scooter: Yambretta 350
Location: San Francisco, California
Contact:

Wow!! It's about time.


Jason
stokky
registered user
Posts: 128
Joined: Mon Feb 23, 2009 12:14 pm
Contact:

Just reading your thread again, great work

Bit late for you now, but........

Martin also did me a 64 stroke crank for an RB250.
He used some Webs from Tino, which are 5ml wider than normal.
Think these are same webs Tino is using in his new 305 engine
Means drive side bearing changed for Vespa clutch (5ml narrower), and packer under mag housing
(I did an update on engine build some while back)

Works well and bike been on road all this year without issues

Photo below shows crank next to std crank

Image
User avatar
RManson
registered user
Posts: 211
Joined: Fri Aug 31, 2012 4:40 am
Main scooter: Jet 200
Contact:

I like the wider webs on that crank! Wish I woulda knew about that when Martin built my crank, oh well. At least now I know there are options if we have crank issues.

Thanks for the heads up!
User avatar
RManson
registered user
Posts: 211
Joined: Fri Aug 31, 2012 4:40 am
Main scooter: Jet 200
Contact:

Been working on the bodywork so that I can send everything out for blasting and powdercoating. Sneaking up on final assembly but still got a lot of stuff to do.

I didn't like the original clip fasteners for the side panels so I decided to use Dzus fasteners to attach them as well as the runners. Makes it super easy to remove the tins now. Spaced the bridge piece up and trimmed the runners to suit so that there's no interference.

ImageRotax Lamby build-075 by PotvinV8, on Flickr

ImageRotax Lamby build-076 by PotvinV8, on Flickr
Last edited by RManson on Wed Aug 30, 2017 10:33 pm, edited 1 time in total.
User avatar
RManson
registered user
Posts: 211
Joined: Fri Aug 31, 2012 4:40 am
Main scooter: Jet 200
Contact:

I can't stand the original cable trunions and I had to redesign the shift cable routing due to the intake anyways so I thought I'd redesign the whole ball o' wax. Had a set of one-off cables made locally that use a collet to grab the cable. The collet has a threaded rod that attaches to a rod end which is then mated to the gear swivel. The swivel rides on a oilite bushing, making it nice and smooth. Lots of adjustment now and coupled with the gearchange pulley I made that mounts solidly to the gear change, there's no slop in the assembly, which makes me happy.

ImageRotax Lamby build-077 by PotvinV8, on Flickr

ImageRotax Lamby build-078 by PotvinV8, on Flickr

ImageRotax Lamby build-079 by PotvinV8, on Flickr

ImageRotax Lamby build-080 by PotvinV8, on Flickr
Last edited by RManson on Wed Aug 30, 2017 10:34 pm, edited 1 time in total.
User avatar
RManson
registered user
Posts: 211
Joined: Fri Aug 31, 2012 4:40 am
Main scooter: Jet 200
Contact:

Started on the gas tank mockup as well. Using 3/16-inch foam core board to assemble the mockup and to use as the template when it comes to final fabrication. Tank will be stainless with an outlet, reserve, return line, vent, and low-level sensor. Had a look at the fast-flow fuel taps available and decided to come up with my own idea. Wanted to retain the use of a "reserve" setting, but I think I've figured it out. Using a jetski tank selector and traditional 1/4-inch barb fittings for a true fast flow outlet. I'll post all the details once the tank is finished.

ImageRotax Lamby build-081 by PotvinV8, on Flickr

ImageRotax Lamby build-082 by PotvinV8, on Flickr
Last edited by RManson on Wed Aug 30, 2017 10:44 pm, edited 1 time in total.
10 inch Terror
registered user
Posts: 1447
Joined: Tue Jun 29, 2010 9:17 pm
Xbox live gamer tag: No.
Playstation gamer tag: PLEASE!
Main scooter: Lambretta LI Imola 185
Location: Farnborough Hampshire
Contact:

You sir are a very clever man. :idea:
Post Reply Previous topicNext topic
  • Information
  • Who is online

    Users browsing this forum: No registered users and 12 guests